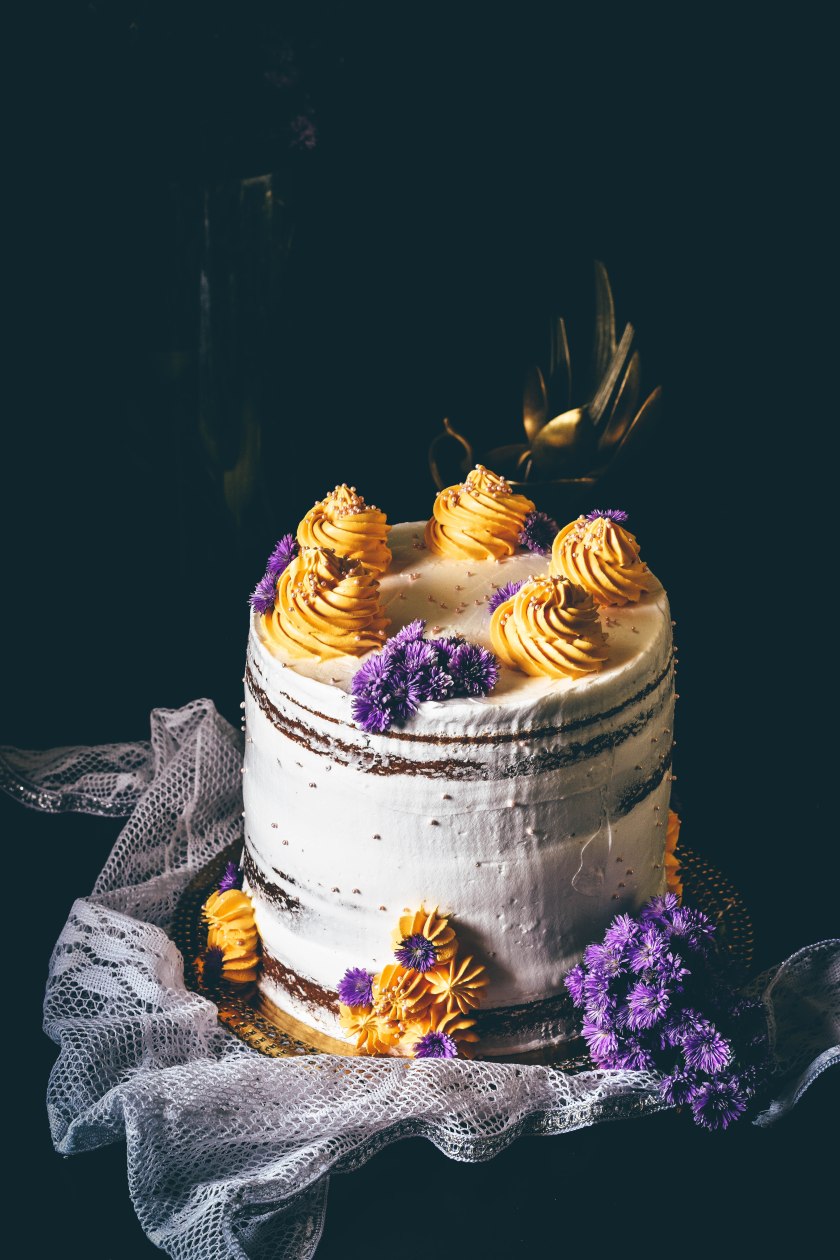
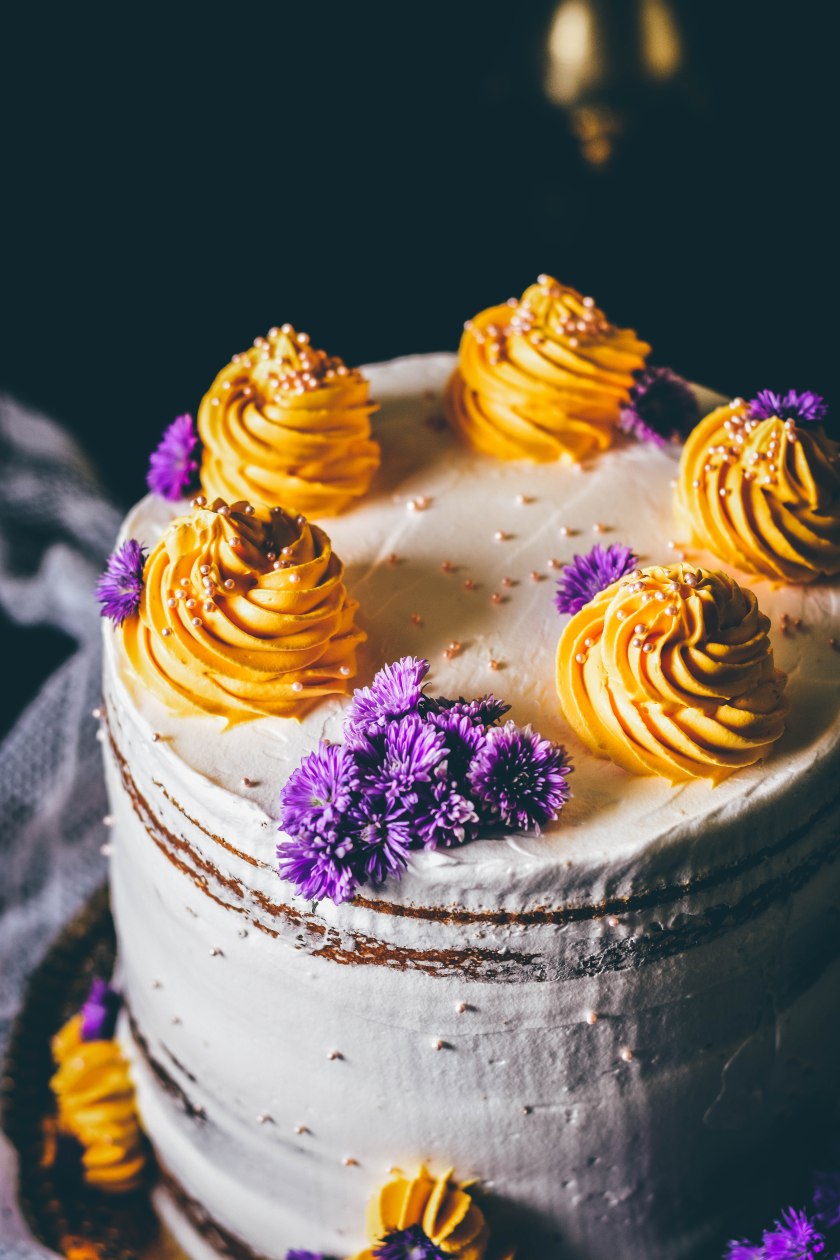
Summer Lemon Sponge Cake


Hello my wonderful readers!

How have you all been? As you can see, I haven’t really had much time to blog and cook as I have been spending time at the school and after with my little one. I stay at the school along wth my baby and once we are back we continue with activities etc together. Not cause blogging is not as interesting, its just that it really feels nice to spend time with Adi. In the last few weeks, as a mother there are so many changes in my little one and its just the best. I couldn’t imagine not sharing these changes with him. The perks of staying home with your baby, I guess šŸ™‚

For March – April the temperatures are soaring like crazy and apparently they are only going to get worse. So I decided to make a little lemon sponge cake for the evening tea. The cake is light and spongy and so so delicious. Paired with a cup of tea this makes the perfect summer evening tea.

As the days go by there is this reality that hits you that these moments, hot, cold, summer or rain, will never come back. Little precious moments with the little boy and as a mum the only thing you want is for your little one to be able to make decisions on his own with a sensible head. As a parent we are so so weak. Some times even if its for his good, it takes a lot out of me to keep a straight face when I am trying to explain why he should do some thing . Or when I ask him if he wants to go to school and he replies with “OR THE MALL? ” like its really an option .. lol…. secretly I think he enjoys the car / auto ride to and from the school more than anything. He holds the railing behind the auto driver and pretends to be driving the auto with all the expression and sound effects the auto and its driver. Once we are home, everyday he makes a fuss to enter home. Cause he knows its time for lunch and then his afternoon Ā sleep which is such a struggle!! But in all its the best feeling to see his little black straight hair flutter gently when he runs to jump, his little look from the corner of his eye when I ask him to keep back things or when I say “What did Amma say?” and he says ” No Skweeeeming ” … These little moments make my heart warm and every moment worth living. Oh my there I go again about how I love my little honey bee.

Ok back to the recipe. You want all the ingredient at room temperature and do not forget to butter and dust the pan WELL!

Ingredients :-

  1. Flour – 1 + 1/2 cups
  2. Butter – 1 cup
  3. Eggs – 3
  4. Butter milk – 1 Cup ( whisked well)
  5. Caster Sugar – 1 + 1/4 cup
  6. Vanilla Extract – 1 tbsp
  7. Lemon Zest – from 2 lemons / 1/4 cup
  8. Lemon Juice – from 2 Lemons
  9. Baking Powder – 2 tsp
  10. Extra butter and flour to grease and dust the pan
  11. Extra powdered Sugar for dusting


Instructions :-

  1. Pre Heat the oven to 180C
  2. Grese and dust a pan with butter and flour. Make sure to tap out the excess flour
  3. Now in a large bowl, add the butter and sugar . Cream till pale and fluffy
  4. Then add the eggs one at a time. Make sure to cream the mixture well and incorporate as much air as possible.
  5. In a large pan, mix the flour and baking powder. Sieve the mixture thrice to incorporate air and to distribute the Baking powder well in the flour
  6. Now into the butter and egg mixture, add the lemon zest, lemon juice, vanilla extract and mix well ( if you are using a hand whisk this is easy, the same can be done with a hand held whisk)
  7. Next add the butter milk to the lemon egg mixture and mix well
  8. With a spatula divide the flour mixture into 3 and slowly fold the flour into the Ā buttermilk butter egg mixture ( wet mixture)
  9. Once you have added all the flour to the wet mixture, your batter is ready! ( do not over mix the batter)
  10. Pour the batter into the prepared cake tin and tap to release bubbles
  11. Pop the cake tin into the pre heated oven and bake for 45 – 50 mins or till the tooth pick inserted comes out clean
  12. Cool completely on a cooling rack and then turn it out onto a plate
  13. Finally dust with powdered sugar and lemon slices !


Enjoy your summer Tea party ā¤

Strawberry, Thyme and Caramel Brioche Sticky Buns

Strawberry Still

dsc_1031

dsc_1087

dsc_1144


dsc_1058


Hello my dear wonderful readers!

Is it Thursday already???? Some times I cannot believe how the days go by. My little monkey a.k.a my son šŸ™‚ is also growing up so fast. Let me tell you why I say that. My little boy has a cold and till yesterday what comes so easily to us, was the hardest thing for him. What is that one thing that we often do when we have a cold? we blow our nose! But my little 2 year had no clue how to blow his nose. All he would do is a “kaaaarrkkkkkkkk” sound into a tissue if I ask him blow his nose. Yesterday some how, I asked him to do the same and guess what?? it worked!!! He actually blew his nose!! Now I know you are thinking OMG what is this woman talking about! So here is something, parenting is such a roller coaster, that every single minute you learn and you grow. You do not have to be a parent to a human, it could be a cute little pup or cat or any animal you want to appreciate what i am saying. When they are tiny they are so fragile that once they start showing signs of growing up, every step calls for a celebration. At least I do. Your child is a celebration of your life. The joys I have found as a mum are unparalleled and can never be forgotten.

Now coming back to this recipe. It was actually a test recipe but given that I made quite a few yesterday and only 4 remain, I think it would be apt to share the recipe with you all. So I asked my dear husband to buy some fresh thyme for a dinner I was making and he got this huge packet of thyme so needless to say, you might see a lot of “Thyme” based recipes coming your way šŸ™‚

Strawberries and thyme are a match made in heaven. So if you wanna make a fun snack with fresh strawberry jam or even store bought organic jam then this is just the one. When I was a little girl my mum would always make me have a jam sandwich and a tall glass of milk on the table just before I went out to play. This recipe reminds me so much of those days.

The bread is not just any bread. It is the most fluffiest, softest, tastiest bread ever. Because of the addition of butter and eggs this bread is just delicious just by itself too. The little thyme adds a certain mystical, lemony smell and taste. Winter mornings with a cup of tea and these buns are the perfect breakfast in bed option too.

Ingredients for the bread :-

  1. Flour – 2 cups
  2. Sugar – 5 tbsp
  3. Yeast – 2 tsp
  4. Salt – 1/4 tsp
  5. Milk – 2/3 cup (warm)
  6. Water – 1/3 cup
  7. Eggs – 2 (lightly beaten)
  8. Butter – 105 gms (softened and at room temp)

Instructions :-

  1. In a bowl combine milk, sugar and yeast. Set aside till frothy and bubbly
  2. In the bowl of your stand mixer, add the flour and butter. With the hook attachment mixĀ till a bread crumb consistency is achieved
  3. Then add the eggs and mix well
  4. Next add the yeast mixture and milk in a steady stream with the mixer on low
  5. Once you are done, add the salt and let the dough mix for 10 – 12 mins on medium speed
  6. Mean while oil a glass bowl with 1/2 tsp of oilve oil and set aside
  7. Now you will notice that the dough is quite wet but that’s ok, continue mixing till the dough is nice and elastic
  8. Finally tip the elastic dough into the prepared bowl
  9. Cover with a cloth and set in a warm place till the dough doubles in size ( 1 – 3 hrs)
  10. During that time. Lets assemble the ingredients for the filling

Ingredients :-

  1. Strawberry Jam – 2 cups ( depends on how thin you roll out the dough)
  2. Fresh Thyme – 4 tbsp
  3. Caramel – 3 tbsp ( or as required)
  4. Egg – 1 (whisked well)
  5. Butter for greasing

Instructions Ā :-

  1. Pre Heat your oven to 200 C and grease a cupcake tray with butter. Set aside
  2. Flour your work counter with flour and dump the flour into the counter. Make sure to deflate the dough in the bowl first
  3. Slowly knead for 1 min till it forms a ball. Divide the ball into 2 equal halves
  4. Then using a rolling pin, roll out a rectangle 40 cm x 20 cm
  5. The using a pastry brush, evenly spread the jam over the rolled out dough ( if it very thick pop it into the microwave for 30 sec)
  6. Once you are done with the strawberry layer, sprinkle the thyme leaves
  7. Then drizzle the caramel over it
  8. Now slowly starting from the longer side roll inwards. Flour your hands, if you find the dough is sticky
  9. Once you have a nice long roll, cut into equal circles. I used a thread for this. Slip a thread under the log, come around it from both side, make a tiny knot just once and pull tight through
  10. As you make the circles place it in the prepared cupcake tray
  11. Once you are done with all of the dough in the same manner, using a pastry brush, lightly coat the tops of the rolls, with the eggs wash
  12. Pop into the oven for 30 Mins or till golden brown. Once done, remove from the oven and place on a cooling rack
  13. Allow to cool till warm to touch, then pop them out of the cupcake molds and place on a cooling rack to cool completely
  14. Serve with hot milk or tea

Milk Peda – easy version


dsc_0780

dsc_0782

Hello my Dear Wonderful readers!!

So I am back with my next recipe and that is my easy peasy Milk Powder Peda! These are super easy to make. Traditionally you will note that this sweet is make from Khoya and if that is easily available to you then you could make it that way too. But I am a mommy of a two year old and I run the kitchen and the house along with looking after him without any help. So any quick Indian sweet recipe is always welcome. These sweets are a favorite among people of all ages. My husband absolutely loves these and they are made every year around this time. So I am off to making more Diwali recipes and I leave you with this beauty!

Ingredients :-

  1. Milk Powder – 2 cup
  2. Condensed Milk – 400 gms ( 1 can)
  3. Cardamom Powder – 1/4 tsp
  4. Saffron – 15 strands
  5. Milk – 1 tbsp (warm)
  6. Ghee – 4 tbsp + to apply on hand while rolling the peda

Instructions :-

  1. In a small glass, combine the warm milk and saffron strands and let it rest while we get on with the rest
  2. In a heavy bottom non stick pan, add ghee. Once the ghee has melted add the condensed milk
  3. Now using a spatula, mix the condensed milk and ghee well till you see bubbles begin to form on the side
  4. Then add in the milk powder and move quickly
  5. Mix well and continuously stir till there are no lumps left. Using the spatula, press down on all the lumps and give it a good mix
  6. Next add the saffron soaked in milk and the cardamom powder
  7. Give it a good mix
  8. Cook the mixture till you see that it begins to form a single big lump
  9. Then take it off the heat and set aside to cool
  10. Meanwhile grease a plate with ghee and apply some on your hands too
  11. Now slowly make small roundels with equal quantities of the mixture in the palm of your hand
  12. Set aside on the greased plate. This works well when the mixture is still warm and not too hot to touch
  13. Once you are done with all the pedas, make small indent with you finger or use a stamp to make an impression on the top of the peda and place pistachio slivers, saffron strands etc
  14. Your home made milkpowder pedas are ready!

Easy Gulab Jamun

dsc_0745

dsc_0755-2


Hello My Dear Wonderful Readers!

How are you all doing? Today, I finally got my Diwali lights out on the balcony and my son was super excited! He ran out onto the balcony saying “Wooow..so pretty! “. He was in his PJs and his little eyes twinkled in the reflection from the fairy lights. Hey do you follow me on Instagram? Cause if you do, then you can see the live photos of what I describe here. Search for A cupcake for love and you will find me. I share most of my day meals or finds on my Instagram handle and I would love to hear from you.

So Diwali is a few days from now and I did make a few sweets but I have been procrastinating and not putting up the recipes on the blog. To make amends I am starting with my ‘easy peasy’ Gulab Jamun. Now as we go move along you will notice that most of my Diwali sweet recipes include Milk Powder. This is the lazy mum’s easy way to make home made sweets, satisfy sweet tooth’s, not spend too much time in the kitchen and also enjoy the holiday. So I am not saying these are authentic in anyway, but you know what, they taste just as good and they guarantee satisfaction šŸ™‚

So here is the recipe for my Milk Powder Gulab Jamun

Ingredients for the sugar syrup –

  1. Sugar – 1 cup
  2. Water – 1 + 1/2 cup
  3. Cardamom Powder – 1/2 tsp
  4. Saffron – 8 – 10 strands

Instructions :-

  1. In a heavy bottom pan, combine water and sugar
  2. With the heat on medium, slowly mix the water and sugar till it dissolves
  3. Then add the cardamom and saffron
  4. Now bring the mixture to a boil then reduce the flame and let it simmer till the mixture begins to thicken (around 10 mins)
  5. Continue stirring till the sugar and water mixture thickens ( dip a ladle into the mixture and see it it coats the back in a nice thick layer )
  6. Set aside

Ingredients :-

  1. Milk Powder – 1 cup
  2. All purpose Flour/ Maida – 2 tbsp
  3. Baking Soda – 1/4 tsp
  4. Oil – for frying (depends on the vessel)
  5. Milk – 1/3 cup
  6. Butter – 1 tbsp (melted and cooled)

Instructions :-

  1. In a large bowl, combine milk powder, maida, baking soda and mix well
  2. Then add the melted butter and combine well with the flour
  3. Finally add little milk at a time and slowly knead the flour to form a nice ball ( may be a little sticky but that’s ok)
  4. Leave it to rest for 10 mins
  5. During that time heat a heavy bottom pan with oil on medium ( use enough to deep fry)
  6. Finally make tiny lemon size balls with the milk powder mixture and set aside
  7. Slowly fry these balls on medium till golden brown
  8. After you have fried them, drop it into the prepared sugar syrup ( its best if the sugar syrup is warm)
  9. Let it soak for an hour and they are ready!

Dark Chocolate covered Chocolate Cookie hearts

dsc_0383

dsc_0385

dsc_0412

dsc_0406

Hello my dear wonderful readers!!

Its been so long and there has been so much happening, I do not know where to begin! We finally moved to our own place and I am so excited cause there is so much sun light and space in the form of big balconies! lol. So to start our sweet journey at the new place, I decided to make these simple yet decadent cookies. Hey you know what I discovered, if you want to get rid of the smell of paint in a new place, all you need to do is bake some thing nice! I made these cookies and the paint smell reduced considerably. The next day I made some biryani and that sealed the deal. Ā hahahahaha…

These cookies are super easy to make and are perfect if you want to make chocolate cut out cookies.

Ingredients :-
1. Flour – 2 cup
2. Baking Powder Ā – 1/4 tsp
3. Cocoa Powder – 4 tbsp
4. Demerara Sugar – 1 cup
5. Butter – 100 gms
6. Milk – 4 tbsp
7. Salt – one pinch

Ā Instructions :-

1. Pre Heat your oven to 180 C – Using your baking paper or silpat mat, line your cookie baking tray
2. In a bowl combine butter and sugar. Beat well for 2 – 3 mins
3. Then add the baking powder, salt, flour, cocoa powder. Then slowly add the milk to flour mixture. Use a wooden spoon and once the dough comes together use your hands and bring it all together
4. Finally you will reach a nice thick doughy consistency
5. Lay a baking paper over your kitchen counter and place the cocoa dough in the centre
6. Then place another piece of paper over the dough ( the same size as the paper underneath (40 cm x 40cm)
7. Using a rolling pin, roll out the dough to a nice thin size
8. Then remove the paper over the dough and using the cookie cutter, cut out the desired shape
9. Slowly place the cookies over the prepared baking sheet. These cookies do not expand so its ok to not leave too much space between the cookiesĀ 
10. Bake for 20 – 25 mins ( do not wait for the cookies to turn dark brown)
11. Once they are ready , place them on a cooling rack and they are ready for their dressing šŸ™‚

For the glaze
1. Micro wave, 50 gms of dark chocolate in spurts of 30 seconds each. Make sure to put out the bowl every 30 seconds and mix with a spatula. This will help prevent the chocolate from burning
2. Dip the cooled chocolate cookies in the melted chocolate and place over a wire rack to let the excess drip down
3. Sprinkle with your favorite kind of topping / sprinkle!!

Chocolate Pavlova with Raspberry compote and cream

DSC_1003-3

DSC_0988

DSC_1023


DSC_1001

Hello Everybody!!

Happy World Chocolate Day! Now I was so tempted to make a nice chocolate brownie with lots of gooey frosting and stuff, but I decided I did not wanna play with flour. Ā Pavlova has always been my nemesis! Smaller version of the same are easier to make, but the tricky part is not till you get it in the oven, its when you have to pull it out of it. Make no mistake, if there were ever a fight between a tiramisu and pavlova, the tiramisu would win, but if I wanted to keep it light a pavlova is the way to go. Ā  When I say “light” I mean “lighter” šŸ˜›

The perfect pavlova should be crunchy, gooey, chewy in the center, not too sweet and just right. The first time I made a summer pavlova, with kiwi, fresh cherries , passion fruit and lots of lemon curd. It was really good. But it was not really a looker and after repeated attempts I realized two things. Firstly – a Pavlova is not a cake! – so do not expect it to be nice and puffy like a cake. And Secondly, Time it! Time your baking time and after the baking time, leave it inside the oven to cool till it comes down to room temperature. Texture is everything when it comes to this dessert. What makes this dessert, much craved for is that wonderful crunchy exterior and then that gooey, chewy, marshmallow center. The cream over the Pavlova is just for additional creaminess and to balance out the sweetness of the pavlova itself. I strongly recommend that when ever you make a Pavlova, use a strong pungent flavor to top it off. Ā That just makes this dessert a ride on a roller coaster. You could use fresh raspberries too, but I took the liberty to make a concentrate with the raspberries, added a little honey and made it a little more dramatic. But like I said, using fresh raspberries would do well too. Needless to say, the last time I made it, it was over within a day. So if you are the one cutting into the pavlova, make sure to save some for your self too!


Ingredients for the pavlova base:-

  1. Egg Whites – 6
  2. Sugar – 300 gms
  3. Coco Powder – 3 tbsp
  4. Balsamic Vinegar – 1 tsp
  5. Chopped Dark Chocolate – 2 tbsp


Instructions :-

  1. Pre Heat you over to 180 and line two baking tray with parchment paper. Draw two discs the size of a quarter plate on the lower side of the paper
  2. In the bowl of your stand mixer, fitted with the whisk attachment, pour in the egg whites and whisk on medium speed
  3. Once the whites are double in size and are nice and glossy, add one spoon of sugar at a time
  4. Now increase the speed and whip on high speed till nice firm peaks are formed
  5. Take off the bowl from the mixer and gently fold in the coco powder, balsamic vinegar and dark chocolate
  6. Make sure to only fold in the ingredients or you will knock out the air from the whites Ā ( which you really do not want)
  7. Now divide the batter equally and pour over the two circle you drew earlier on the parchment paper
  8. Using a spatula or a butter knife, level off the top
  9. Pop the baking tray into the oven and reduce the temperature to 150
  10. Bake for 1 hour and 15 mins
  11. Once you hear the ding of the oven, DO NOT OPEN IT AJAR! slowly pop a wooden ladle between the door of the oven and let it sit till the pavlova had completely Ā cooled and reached room temperature
  12. Mean while get on with the raspberry goo šŸ™‚


Ingredients :-

  1. Frozen Raspberries – 100 gms
  2. Honey – 3 tbsp
  3. Whipping Cream – 300 ml

Instructions :-

  1. In a sauce pan, combine the raspberry and honey
  2. Cook on medium flame till the mixture begins to boil ( stir occasionally)
  3. The let the mixture reduce to half on the same flame
  4. Once it has reduced by half, take it off the flame and let it cool down
  5. Whip the double cream to stiff peaks and set aside


  • When you are ready to assemble the Pavlova, first use one pavlova as the base, add cream and spread evenly
  • Then add half the raspberry goo and sprinkle some chocolate chips
  • Then place the next pavlova over the first layer and repeat the same step
  • Your Chocolate Pavlova is ready!

Recipe Adapted from Nigella Lawsons book


Peach Clafouti – Sweet and Tart Peaches in a soft cakey dessert

DSC_0480

DSC_0544

DSC_0536

DSC_0541

DSC_0524

Hello my Dear Wonderful Readers!!

How are you all doing today? Its been raining here all week and its been so cold, I am always in my socks and either I am eating some thing warm or drinking the same. While it is quite easy to make cold desserts, warm desserts are a little “different”. Now I know I could make a batch of warm cookies or brownies and eat them right out of the oven. But here is the thing, I wanted to incorporate fresh fruits in there as well. Now, synonymous to these cozy days, is the world Lazy! So the last thing on my mind is to bring everything to room temperature and adding raising agents etc! So this is my” no stress, just vegetate and eat warm gooey deserts” recipe.

Also this is a great option when you have surprise visitors over for dinner and you do want to make some thing sweet at the end of your meal. You could use anyĀ kind of fruit, the base remains the same and let me tell you, in my opinion, tart fruits work the best cause they cut through the sugar in the base and leave you with this wonderful warm happy feeling!

Ice cream or fresh cream, how ever you fashion to pair this dessert, it is a total win Ā – win. Oh and did I forget to mention, its a ONE POT dessert!

My mum makes another version of the same thing and adds roasted cashew nuts and bananas too. Oh that one is out of this world and to compare the two wouldn’t be fair. So if you are looking for a warm, sweet, fruit and cakey dessert that doesn’t involve too much work but you would like to enjoy on a cold night, then I strongly recommend this recipe!

Ingredients :-

  1. Flour – 2 cups
  2. Powdered Sugar – 1 cup
  3. Butter – 100 gms
  4. Vanilla – seeds from one pod or 2 tsp
  5. Salt – just a pinch
  6. Fresh Peaches – 6 (sliced thin)
  7. Eggs – 3
  8. Butter ( just to grease the bowl)
  9. Milk – 1 cup

Instructions :-

  1. Pop the butter into a microwaveable dish and melt. Set it aside to cool
  2. While that is happening, place a kitchen towel on your counter and place your large bowl
  3. Slice peaches to desired thickness and set aside
  4. Add flour and sugar and whisk together
  5. Then add the milk, eggs, vanilla and salt
  6. Whisk well to for a lump free batter ( little thicker than a pancake batter)
  7. Grease your pie tray or enamel wear or even your cake tin with butter ( using a shallow tray makes the fruit pop out better through the cakey base)
  8. Pour the batter into the pan
  9. Then arrange the peaches over the batter. The batter is very runny so some of the fruit may sink but that’s ok, just add more šŸ™‚
  10. Pop the tray into a pre-heated over at 180 C for around 30 – 45Ā mins
  11. Once done, pull it out of the oven and serve right away with a dusting of powdered sugar and fresh cream or ice cream!!

White Chocolate Cinnamon Mango Cake with fresh Mango and Cream – Happy Mothers Day!!


DSC_0557

DSC_0543

DSC_0526

DSC_0561

Hello my wonderful readers!!

Today is Mothers Day!! Happy Mums days to all the wonderful mums out there!

This time I wanted to make it extra special so I baked a cake for my mum. In all honesty I am always looking for a reason to bake a cake and when something this wonderful comes my way, why wouldn’t I bake!! My mum loves simple subtle flavours. She like soft textures and warm colours. Everything I am today is because she taught me the right way. Often I stop in my tracks just to rethink and I ask my self, what would “Amma” / mum do right now? This usually happens when I am dealing with my son šŸ™‚ You know many people say they won’t wanna have kids and for the longest time even I dint think I would ever be ready, but then today I look back and I ask myself, how could I have been so stupid to see the obvious. Yes I would have been able to travel more and meet more people and learn more languages and read more, but you know what? some day my little one will also fly away from my nest and then I will have all the time in the world for that. This journey that I am on is the most fulfilling journey ever! No it cannot be compared to anything and I will not undermine it by saying that it can šŸ™‚ The reason I say all this is cause, today as a mother I realise how and why my parents said what they said. Today I realise how wrong I was and how miserable I would have been if I decided otherwise. There are exceptions to the rule, but the bottom line is, the only reason “Home” is “home” is cause home is where nothing can go wrong. My son will turn two in a few months and today we were learning how to eat mangoes with our hands. It was so funny! I had to give him a bath after the whole episode, but these baby steps are so precious. So heart warming!! These are the moment I thank my mum for having helped me decide what was right. When I see my child do well that is when I see how my mum made the right choices for me! Its funny how mums have it all under control no matter how things are on the outside!!

Ok this recipe is actually a very simple white chocolate cake with fresh mangoes, mango cream and a hint of cinnamon. Super simple to make and it is both decadent and yet so simple and fresh!! You should totally try it. Its the best Mothers Day cake ever!!

Ingredients for the White Chocolate Cake :-

  1. White Chocolate – 400 gms
  2. Butter – 400 gms
  3. Cake flour – 4 cups
  4. Cinnamon Powder – 1/4th tsp
  5. Powdered Sugar – 2 cups
  6. Vanilla Extract – 1 tbsp
  7. Whole Milk – 1 + 1/2 cup
  8. Vinegar – 1 tsp
  9. Baking Powder -3 tsp
  10. Eggs – 5

Instructions :-

  1. Pre heat your oven to 180 C and grease and dust two cake tins with butter and flour. Set aside
  2. In a large bowl, combine flour, baking powder, powdered sugar and cinnamon powder
  3. Sieve the mixture into anotherĀ bowl and set aside
  4. Now heat a large pot of water. In another bowl, add the butter and white chocolate. Now place the butter and chocolate bowl over the mouth of the boiling hot water (without touching the Ā water) Let the chocolate and butter melt completely. Once the mixture has melted set it aside to cool down
  5. In another bowl add the milk and the vinegar. Stir with a fork and set aside. It will curdle ( thats what you want)
  6. In the bowl of your stand mixer with the paddle attachment, add the eggs. Beat till well combined
  7. Then add the butter and white chocolate mixture and mix for one minute on medium
  8. Next add the milk and vinegar mixture and finally the vanilla extract
  9. Mix well on low speed till it combines well
  10. Next add the flour and cinnamon mixture into the wet mixture, in 3 batches. Give the mixture a good mix (make sure to stop in the middle to scrape down the sides of the bowl)
  11. Weigh the enter wet mixture and then pour equally into the two tins
  12. Bake at 180C for 45 – 50 min or until a tooth pick inserted comes out clean without any batter stuck to it
  13. Once the cake is ready, take it out of the oven and set to cool down to room temperature for 15 mins
  14. Then run a knife around the sides of the cake and demold the cake and let it rest till completely cool.

Ingredients for the Filling and the cream :-

  1. Mangoes – 3 cups of finely cubed
  2. Whipping Cream – 3 – 4 cups
  3. Vanilla Extract – 1 tsp
  4. Fine Powdered Sugar – 1 cup
  5. Sprinkles – as much as you like ( optional)

Instructions :-

  1. Take one cup of the chopped mangoes and blend to a fine paste. Set aside
  2. In the bowl of your stand mixer add the whipping cream and whip on medium speed. Once the cream reaches a soft peak consistency, add the vanilla extract and mango puree. Now with the speed on medium, slowly add the sugar and whip to stiff peaks. Set aside ( you could make some without the mango puree just for colour contrast)
  3. To assemble the cake, cut the cake into two equal halves, pipe the mango whipped cream, add chopped mangoes and top with the next level of cake
  4. Once you reach the top, pipe a little mango cream anyway you like and top it off with sprinkles!!

Beetroot and Carrot Thoran – Stir Fry with Coconut and Curry leaves

SONY DSC

SONY DSC

Hello My Dear Wonderful Readers!

How are you all doing today? How has the week been so far. I can’t not wait for this week to end. It has been such a landslide of incidents! From my husband falling sick, to my camera dying on me during a shoot, to my phone falling from my hand and losing its display. It has all been one eventful week. My son has on the contrary been so understanding and cooperative. I think children just know when some thing is wrong and its not them just misbehaving šŸ™‚

Now coming back to the recipe. “Thoran” is basically any vegetable (or sometimes meat) Ā that is cooked on high flame almost like a stir fry and is accompanied with freshly grated coconuts and a variety of tempering. In this recipe, the tempering is made up of Urad Dal- Black (gram without the skin), red chillies, loads of curry curry leaves, mustards seeds fried in a little bit of oil. This is what gives the entire dish its wonderful fresh yet spicy taste and aroma. Ā “Thoran” can be made with all kinds of vegetables but the spices used for different vegetables vary. For some you could use garlic and cumin seeds and others may require other spices.

In the coming weeks, Ā I wanna make a conscious effort to share more Malayali cooking on my blog.Ā Also I firmly believe that pure coconut oil is a very healthy alternative to refined oils like sunflower, peanut and mustard. But thats just me šŸ™‚ What you should know is that this dish is the perfect, light, accompaniment to a bowl of hot rice and maybe a dal or sambar.

Ingredients :-

  1. Beetroot – 3 cups ( chopped)
  2. Carrot – 3 cups (chopped)
  3. Shallots – 6 (chopped fine)
  4. Coconut Oil – 3 tbsp
  5. Urad Dal – 2 tbsp
  6. Dry Red Chillies – 4
  7. Mustard Seeds – 1 tbsp
  8. Fresh Desiccated Coconut – 1 cup (packed)
  9. Salt – according to taste
  10. Turmeric Powder – 1/2 tsp
  11. Curry Leaves – 10 – 14

Instructions :-

  1. In a heavy bottom wok, heat oil.
  2. Once the oil is nice and hot, add the Urad dal. When the Urad Dal turns from white to light yellow add the mustard seeds
  3. This way you will fryĀ both the Urad dal and the mustard seeds cooking and popping at the same time
  4. Now add the red chillies and the curry leaves
  5. Once the leaves have fried well, turn off the flame and with a slotted spoon, spoon out the the mixture. Make sure to drain out all the oil in the same wok. Set the curry leaves tempering aside ( we will use it at the end)
  6. Now turn on the flame again and when the oil is nice and hot add the shallots. Once the shallots are translucent add the beetroot. Give it a quick mix
  7. Cover and cook the beetroot till they are cooked half way through
  8. Then add the carrots and cover and cook till they are both cooked well. ( I find that beetroot takes a little longer than carrots to cook thats why I use this method)
  9. Finally open the cover and add salt and turmeric powder
  10. Give it a good mix cook for 2 mins on high flame
  11. Then add the fresh coconut and turn off the flame
  12. Just before you serve add the curry leaves + urad dal tempering on top of the beetroot and carrots and give it a quick mix
  13. Serve with hot rice and dal or sambar

Strawberry and Cream Cheese Tart

SONY DSC

SONY DSC

SONY DSC


SONY DSC

SONY DS

SONY DSC

SONY DSC

SONY DSC

SONY DSC

Hello my Dear Wonderful Readers!

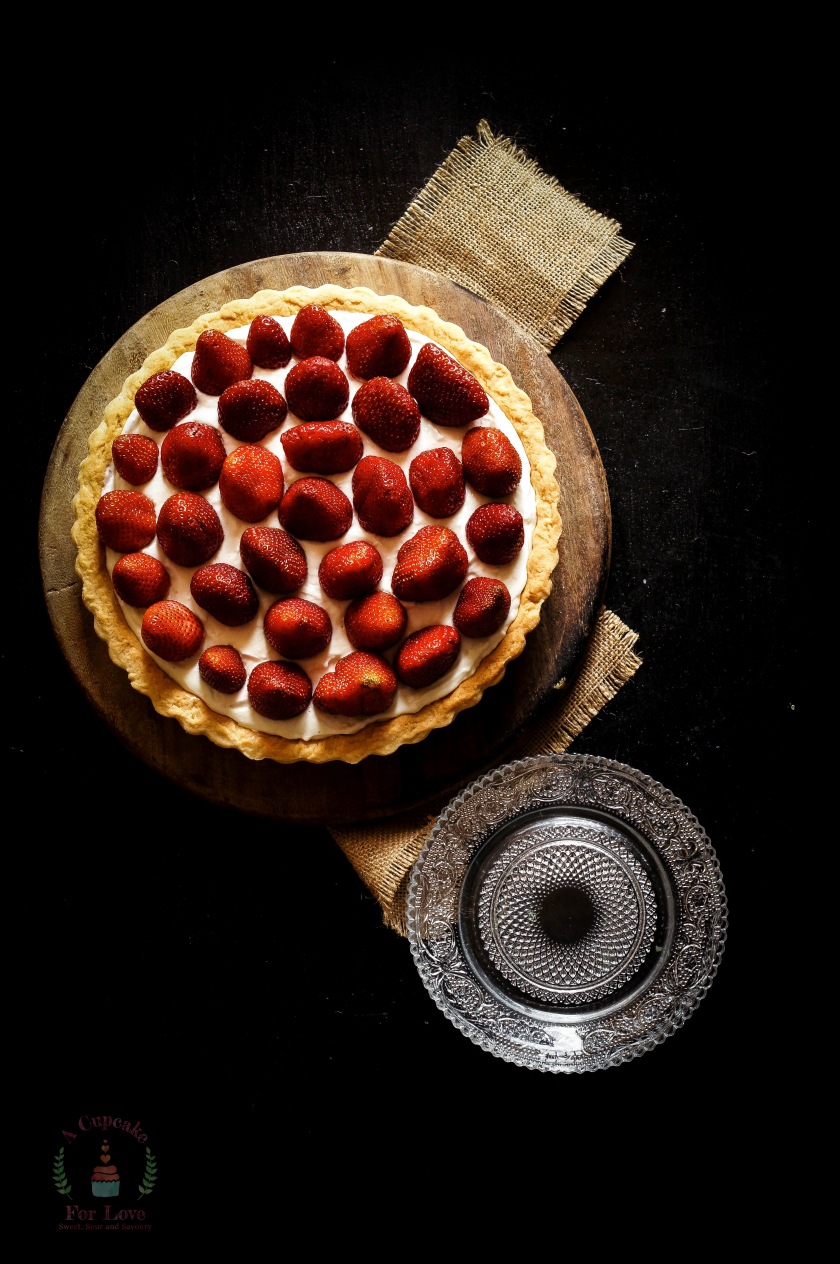
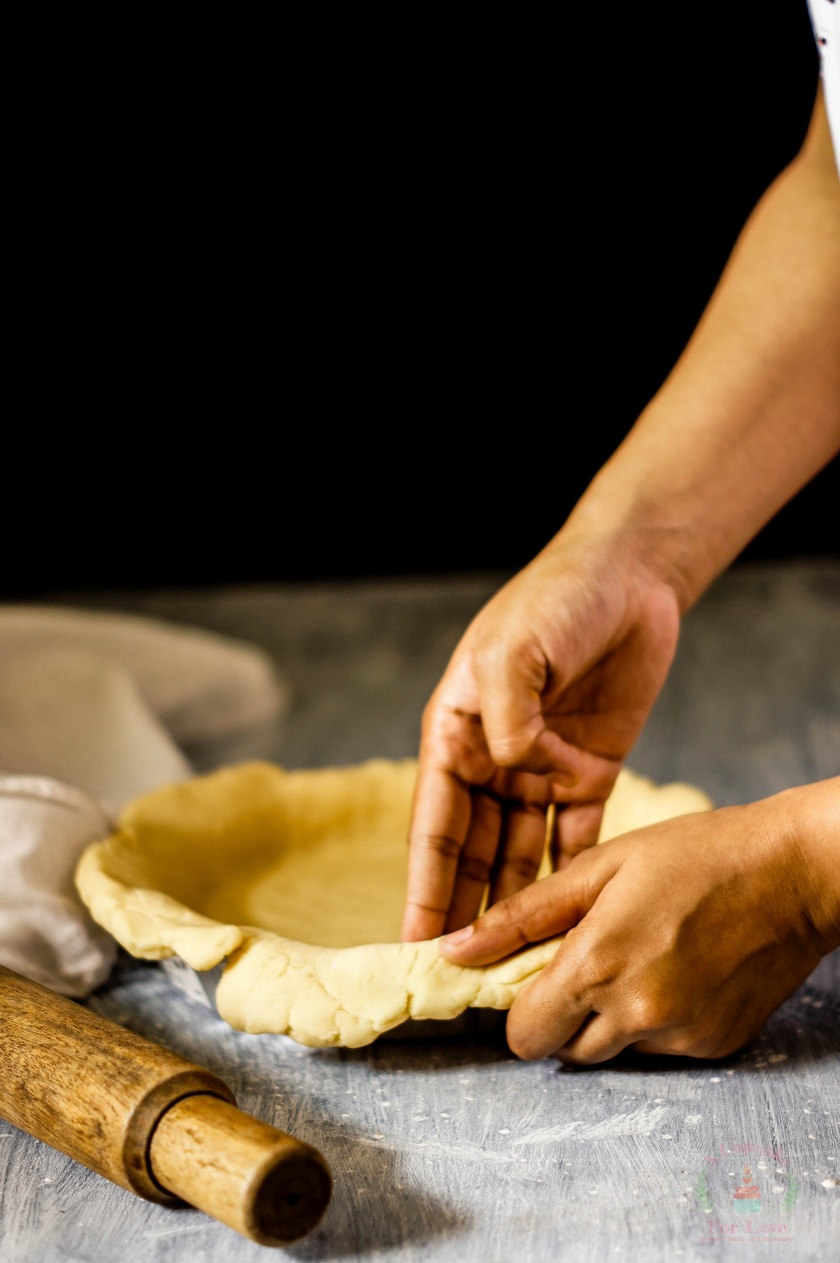
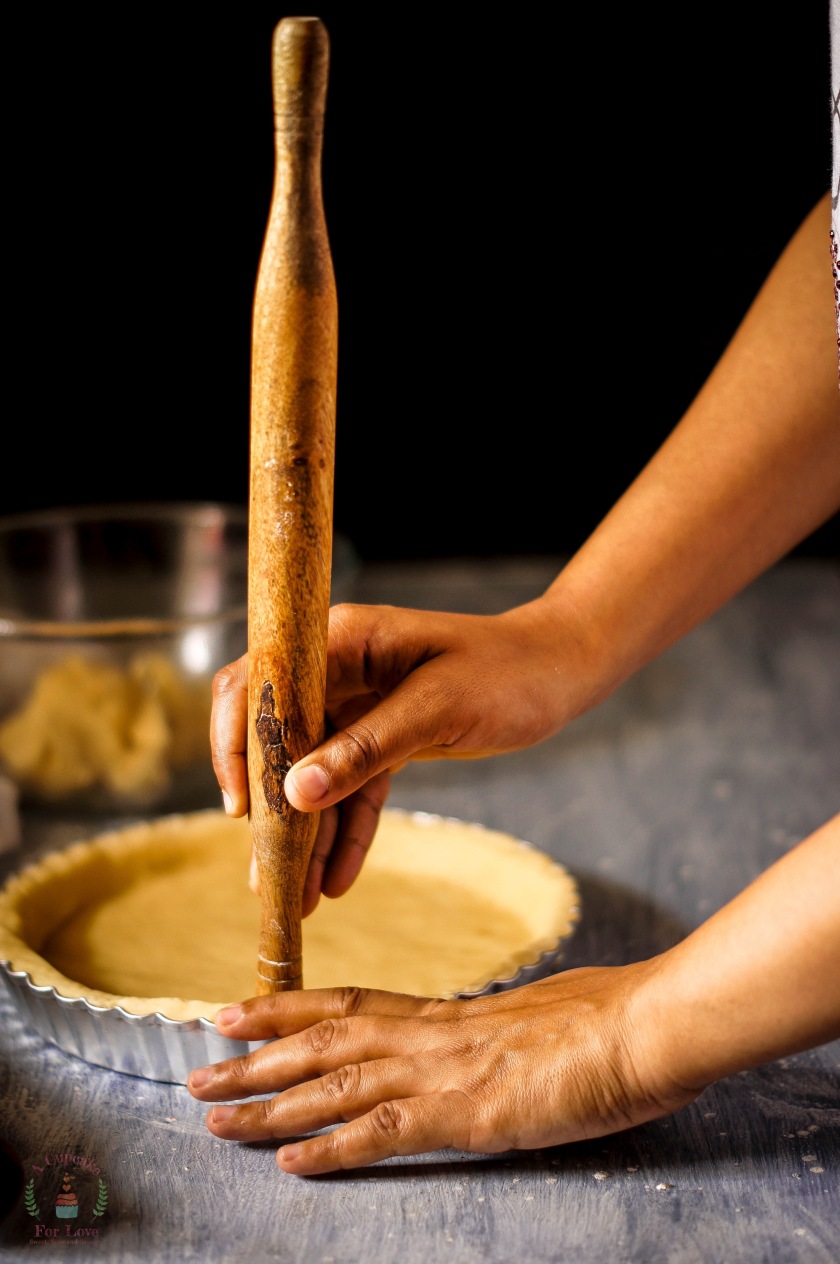
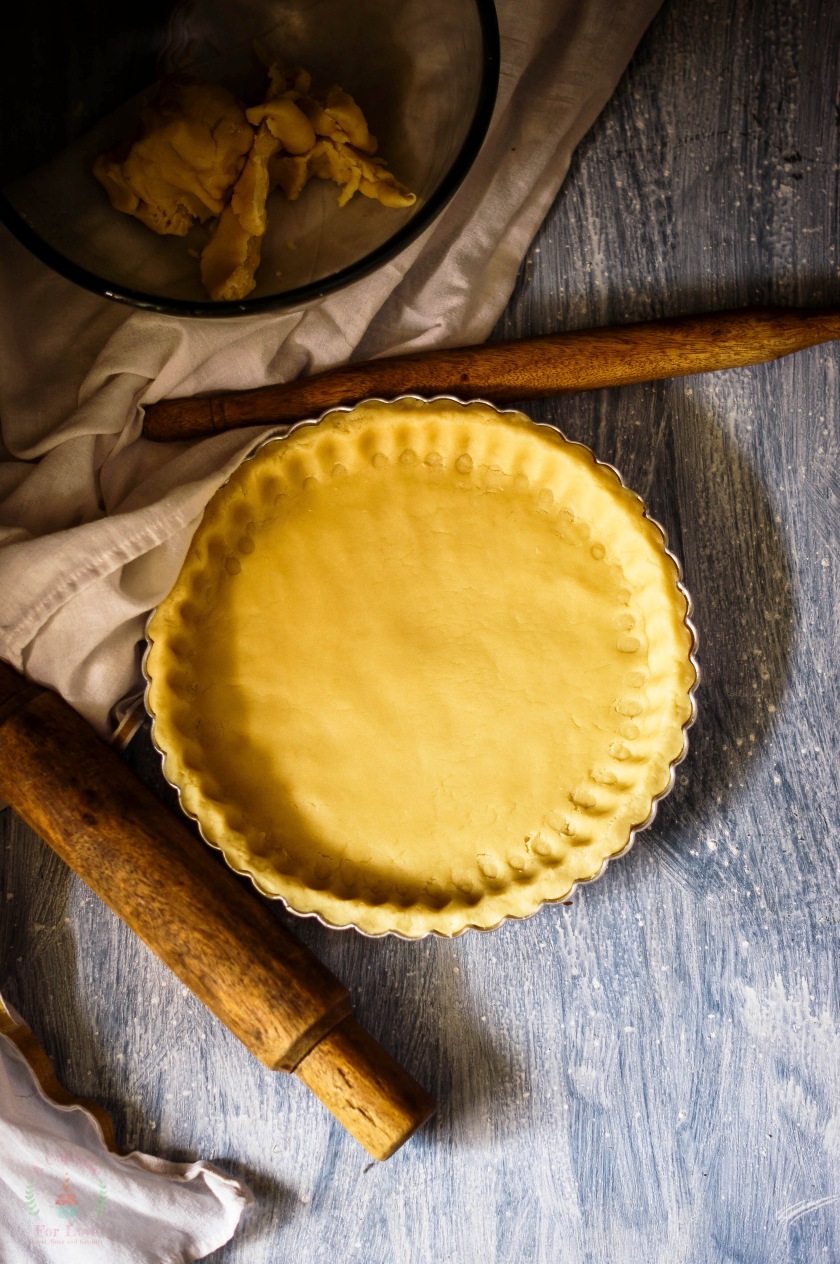
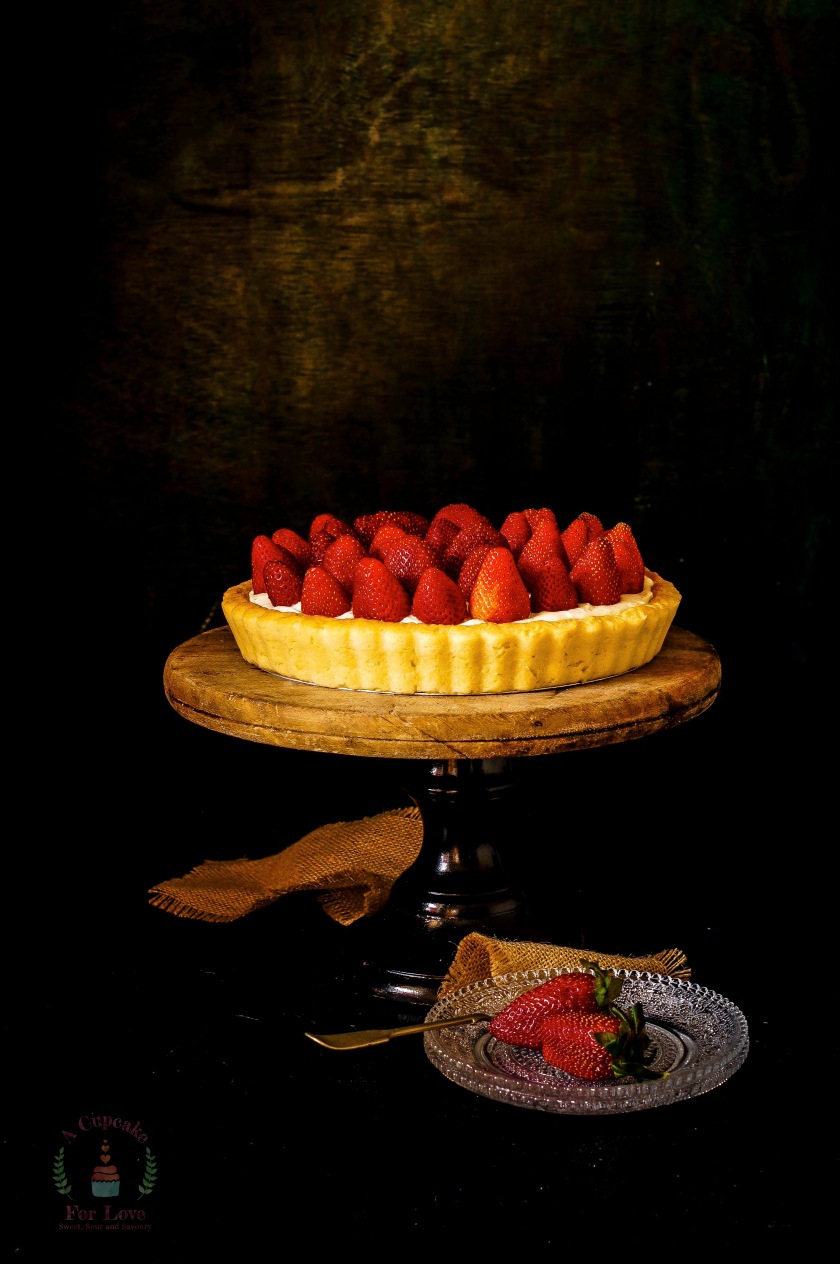
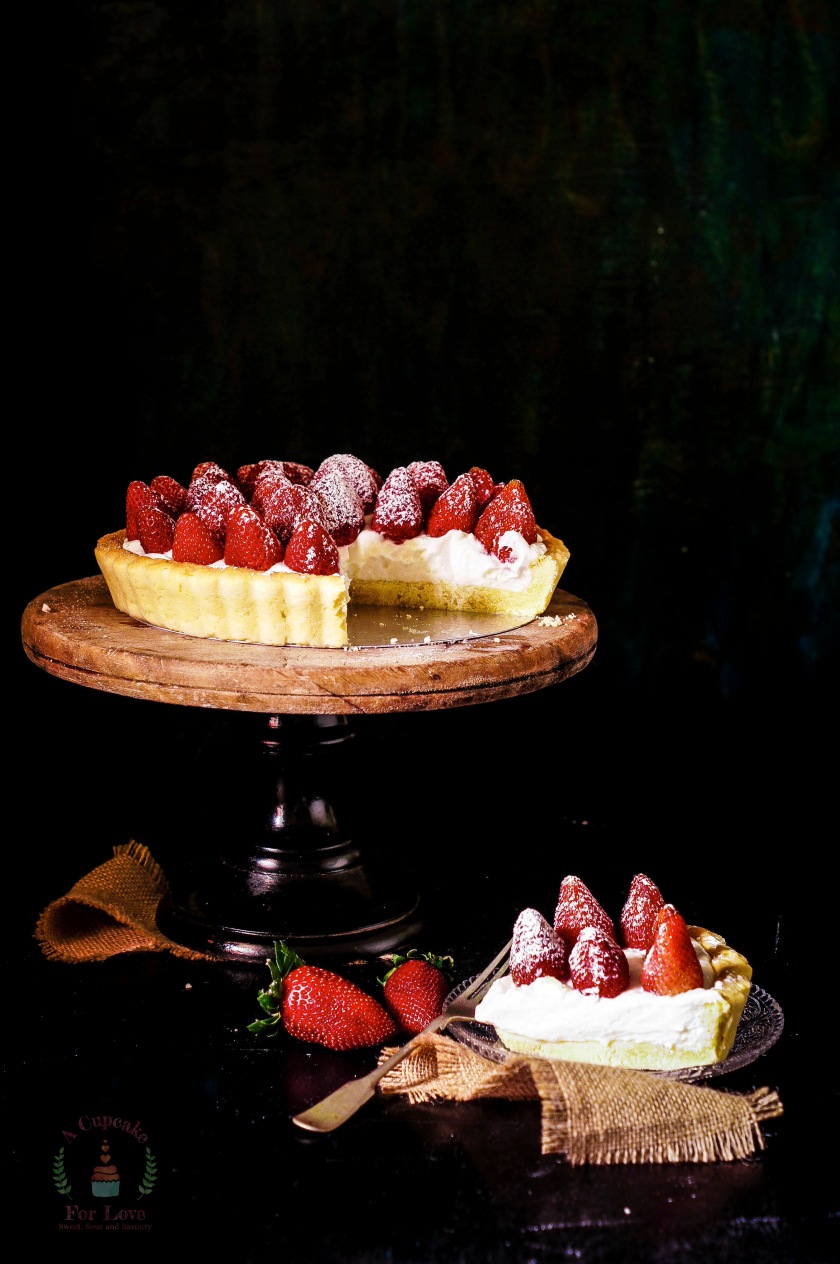
How are you all doing today? Summer is here. Its just March and it is so hot and sticky that by afternoons I have to make tons of buttermilk and juice to keep my son hydrated. Given that little babies are always running around, they are constantly sweating and losing so much water from their bodies. While making theĀ juice, it suddenly dawned on me that strawberries will be out of the market very soon. so before they go away for another year, I wanted to make the best of it with a little strawberry cream cheese tart. But I wanted my own little twist to it, so I added green cardamom powder to the filling. Oh! I would be lying if I said I dint have more than a piece of the tart. IT WAS HEAVENLY!! Its really simple to make and it doesn’t need a lot of prep work. You could buy pre baked short crust tart shells but there’s no fun in that. SoĀ I made my own from scratch.

I used the same recipe as I had for myĀ White Chocolate PersimmonĀ Tartlets. Do click on the link for that.

Now for the filling which is as easy as it gets!

Ingredients :-

  1. Cream cheese – 200 gms
  2. Heavy Cream – 200 ml
  3. Sugar – 4 – 5 tbsp
  4. Vanilla Extract – 1 tbsp
  5. Green Cardamom Powder – 2 pinches


Instructions :-

  1. Remember to cool the cream before you start using it. For best results use the cream directly from the fridge
  2. Next in the bowl of your stand mixer, add the cold cream and whisk on medium
  3. When you see the consistency go from liquid to soft peaks, add the cold cream cheese
  4. Whisk again on medium for a minute
  5. Then add the vanilla extract and green cardamom powder
  6. Turn the speed a little higher and add the sugar one table spoon at a time
  7. Once you are done with all the ingredients set to cool back in the fridge till your tart shells are ready

For the strawberries:-Ā 

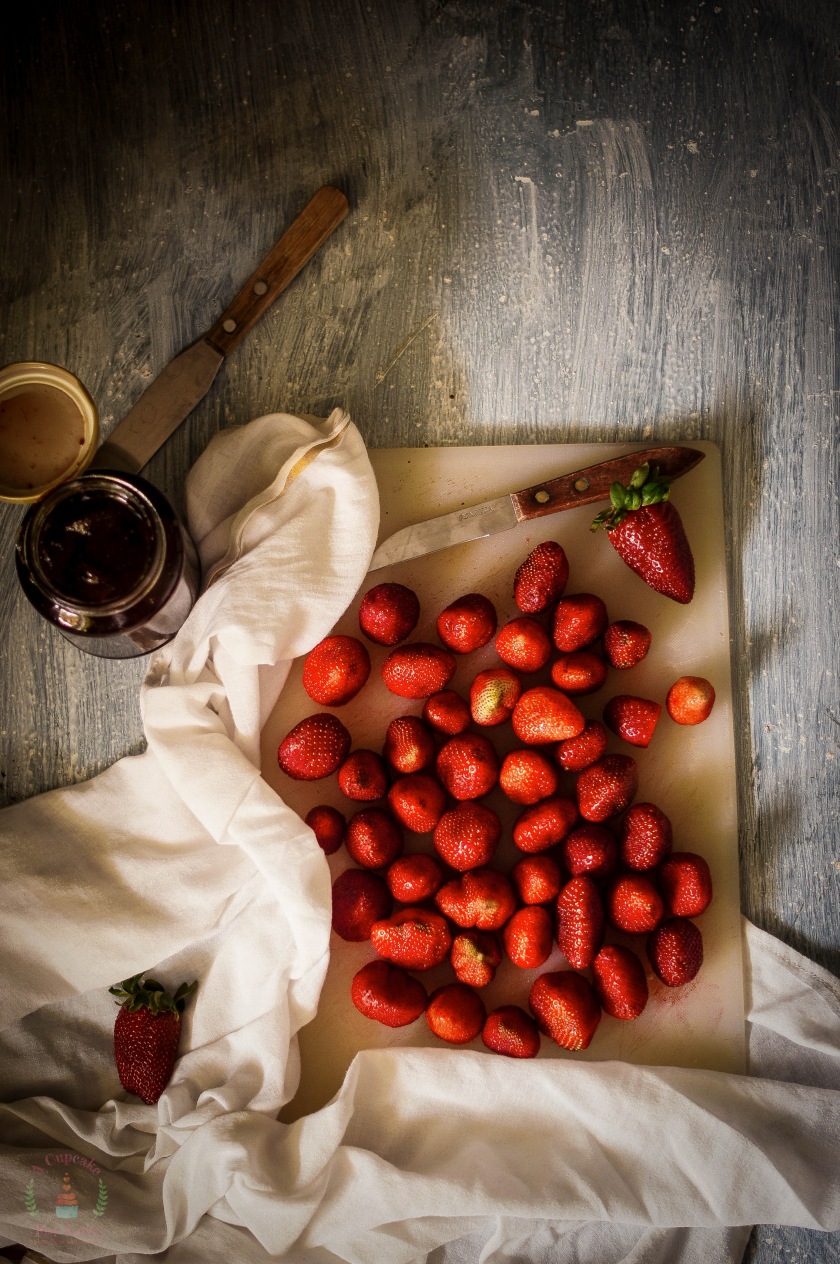
I needed around 3 packs for strawberries but that depends on how you arrange the strawberries in the tart.

  1. Clean and wash the strawberries. Dry them completely
  2. Using a sharp knife, cut the tops off the strawberries in such a way that they would stand if kept inverted


Assembling the tart

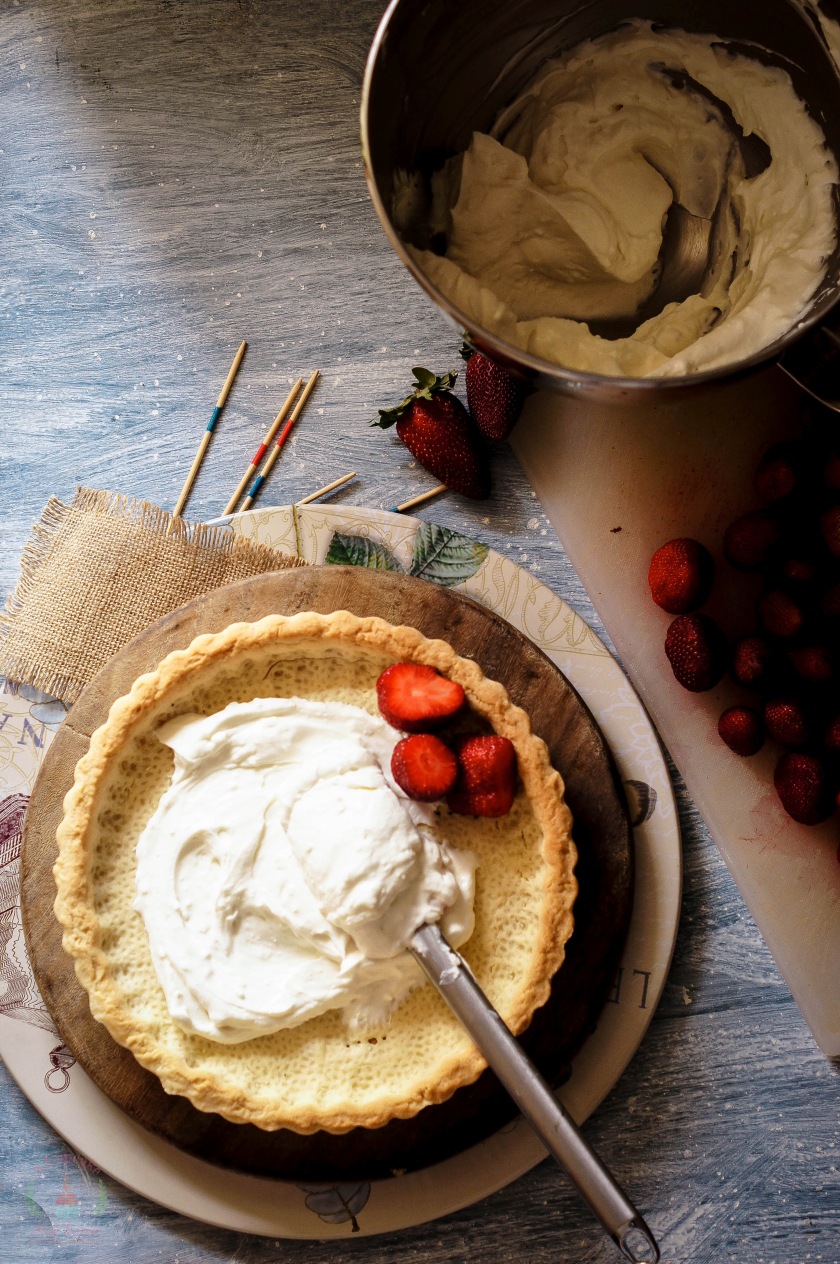
  1. After the tart shells have cooled down completely, add the whipped cream and cream cheese mixture to the tart shell
  2. Evenly spread it throughout the shell
  3. If you find that the mixture is too thin, put the tart back in the fridge for 15 mins
  4. Then take it out and arrange the strawberries over it
  5. Finally dust with the powdered sugar
  6. Serve right away!!

Enjoy!!!