Strawberry, Thyme and Caramel Brioche Sticky Buns

Strawberry Still

dsc_1031

dsc_1087

dsc_1144


dsc_1058


Hello my dear wonderful readers!

Is it Thursday already???? Some times I cannot believe how the days go by. My little monkey a.k.a my son 🙂 is also growing up so fast. Let me tell you why I say that. My little boy has a cold and till yesterday what comes so easily to us, was the hardest thing for him. What is that one thing that we often do when we have a cold? we blow our nose! But my little 2 year had no clue how to blow his nose. All he would do is a “kaaaarrkkkkkkkk” sound into a tissue if I ask him blow his nose. Yesterday some how, I asked him to do the same and guess what?? it worked!!! He actually blew his nose!! Now I know you are thinking OMG what is this woman talking about! So here is something, parenting is such a roller coaster, that every single minute you learn and you grow. You do not have to be a parent to a human, it could be a cute little pup or cat or any animal you want to appreciate what i am saying. When they are tiny they are so fragile that once they start showing signs of growing up, every step calls for a celebration. At least I do. Your child is a celebration of your life. The joys I have found as a mum are unparalleled and can never be forgotten.

Now coming back to this recipe. It was actually a test recipe but given that I made quite a few yesterday and only 4 remain, I think it would be apt to share the recipe with you all. So I asked my dear husband to buy some fresh thyme for a dinner I was making and he got this huge packet of thyme so needless to say, you might see a lot of “Thyme” based recipes coming your way 🙂

Strawberries and thyme are a match made in heaven. So if you wanna make a fun snack with fresh strawberry jam or even store bought organic jam then this is just the one. When I was a little girl my mum would always make me have a jam sandwich and a tall glass of milk on the table just before I went out to play. This recipe reminds me so much of those days.

The bread is not just any bread. It is the most fluffiest, softest, tastiest bread ever. Because of the addition of butter and eggs this bread is just delicious just by itself too. The little thyme adds a certain mystical, lemony smell and taste. Winter mornings with a cup of tea and these buns are the perfect breakfast in bed option too.

Ingredients for the bread :-

  1. Flour – 2 cups
  2. Sugar – 5 tbsp
  3. Yeast – 2 tsp
  4. Salt – 1/4 tsp
  5. Milk – 2/3 cup (warm)
  6. Water – 1/3 cup
  7. Eggs – 2 (lightly beaten)
  8. Butter – 105 gms (softened and at room temp)

Instructions :-

  1. In a bowl combine milk, sugar and yeast. Set aside till frothy and bubbly
  2. In the bowl of your stand mixer, add the flour and butter. With the hook attachment mix till a bread crumb consistency is achieved
  3. Then add the eggs and mix well
  4. Next add the yeast mixture and milk in a steady stream with the mixer on low
  5. Once you are done, add the salt and let the dough mix for 10 – 12 mins on medium speed
  6. Mean while oil a glass bowl with 1/2 tsp of oilve oil and set aside
  7. Now you will notice that the dough is quite wet but that’s ok, continue mixing till the dough is nice and elastic
  8. Finally tip the elastic dough into the prepared bowl
  9. Cover with a cloth and set in a warm place till the dough doubles in size ( 1 – 3 hrs)
  10. During that time. Lets assemble the ingredients for the filling

Ingredients :-

  1. Strawberry Jam – 2 cups ( depends on how thin you roll out the dough)
  2. Fresh Thyme – 4 tbsp
  3. Caramel – 3 tbsp ( or as required)
  4. Egg – 1 (whisked well)
  5. Butter for greasing

Instructions  :-

  1. Pre Heat your oven to 200 C and grease a cupcake tray with butter. Set aside
  2. Flour your work counter with flour and dump the flour into the counter. Make sure to deflate the dough in the bowl first
  3. Slowly knead for 1 min till it forms a ball. Divide the ball into 2 equal halves
  4. Then using a rolling pin, roll out a rectangle 40 cm x 20 cm
  5. The using a pastry brush, evenly spread the jam over the rolled out dough ( if it very thick pop it into the microwave for 30 sec)
  6. Once you are done with the strawberry layer, sprinkle the thyme leaves
  7. Then drizzle the caramel over it
  8. Now slowly starting from the longer side roll inwards. Flour your hands, if you find the dough is sticky
  9. Once you have a nice long roll, cut into equal circles. I used a thread for this. Slip a thread under the log, come around it from both side, make a tiny knot just once and pull tight through
  10. As you make the circles place it in the prepared cupcake tray
  11. Once you are done with all of the dough in the same manner, using a pastry brush, lightly coat the tops of the rolls, with the eggs wash
  12. Pop into the oven for 30 Mins or till golden brown. Once done, remove from the oven and place on a cooling rack
  13. Allow to cool till warm to touch, then pop them out of the cupcake molds and place on a cooling rack to cool completely
  14. Serve with hot milk or tea
Cranberry and Pistachio Biscotti

dsc_0845

dsc_0888

Hello my dear readers!!

How have you all been? The seasons greetings to you and I hope you all are enjoying the holidays. This is a quick post and I apologize for not having the time to write a nice long post about what has been happening. For now I shall leave you with this recipe and I hope you guys love it as much as we did during this festive season. Lots of love guys :*

Ingredients :

  1. Eggs  – 2
  2. Flour – 1 + 1/4 cup
  3. Baking powder – 1 tsp
  4. Orange Zest – 2 tbsp
  5. Caster Sugar – 1 + 1/4 cup
  6. Pistachio – 100 gms
  7. Cranberries – 50 gms
  8. Nutmeg – 1/4 tsp

Instructions :-

  1. Pre-heat your oven to 180 C
  2. In a large bowl whisk sugar and egg till light and pale
  3. Then add the orange zest and nutmeg
  4. Slowly fold in the rest of the ingredients using a spatula (try not to deflate the volume of the eggs)
  5. Once it all comes together, flour your work surface and drop the dough ball
  6. Slowly make a long log with the end tapering
  7. Then transfer the log to a baking tray and bake for 25 mins
  8. After 25 mins take it out of the oven and put to rest till cool enough to handle
  9. Then cut into thin slices
  10. Lay it flat on the baking sheet and pop it back into the oven for another 10 mins till golden brown
  11. Bring it back out of the oven and set to cool
  12. Store in an air tight container


Adapted from Nigellissima 


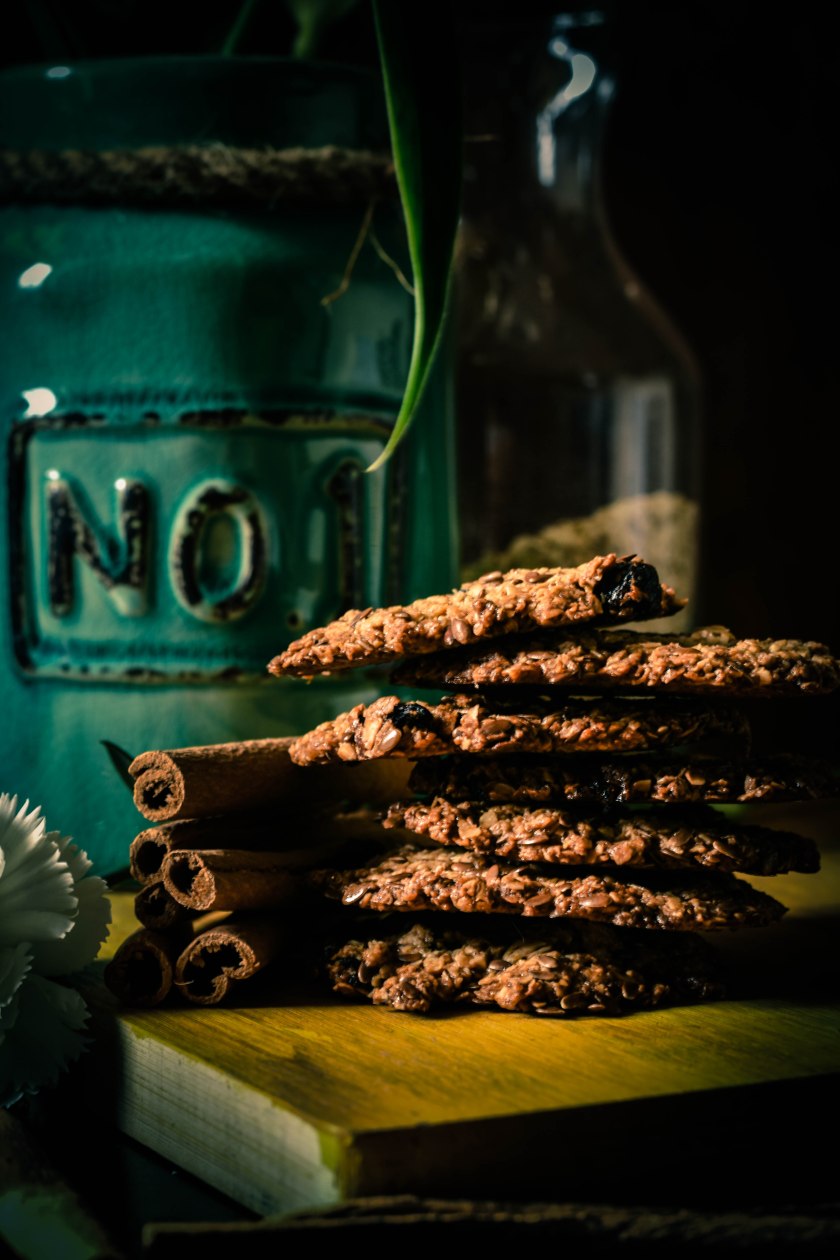
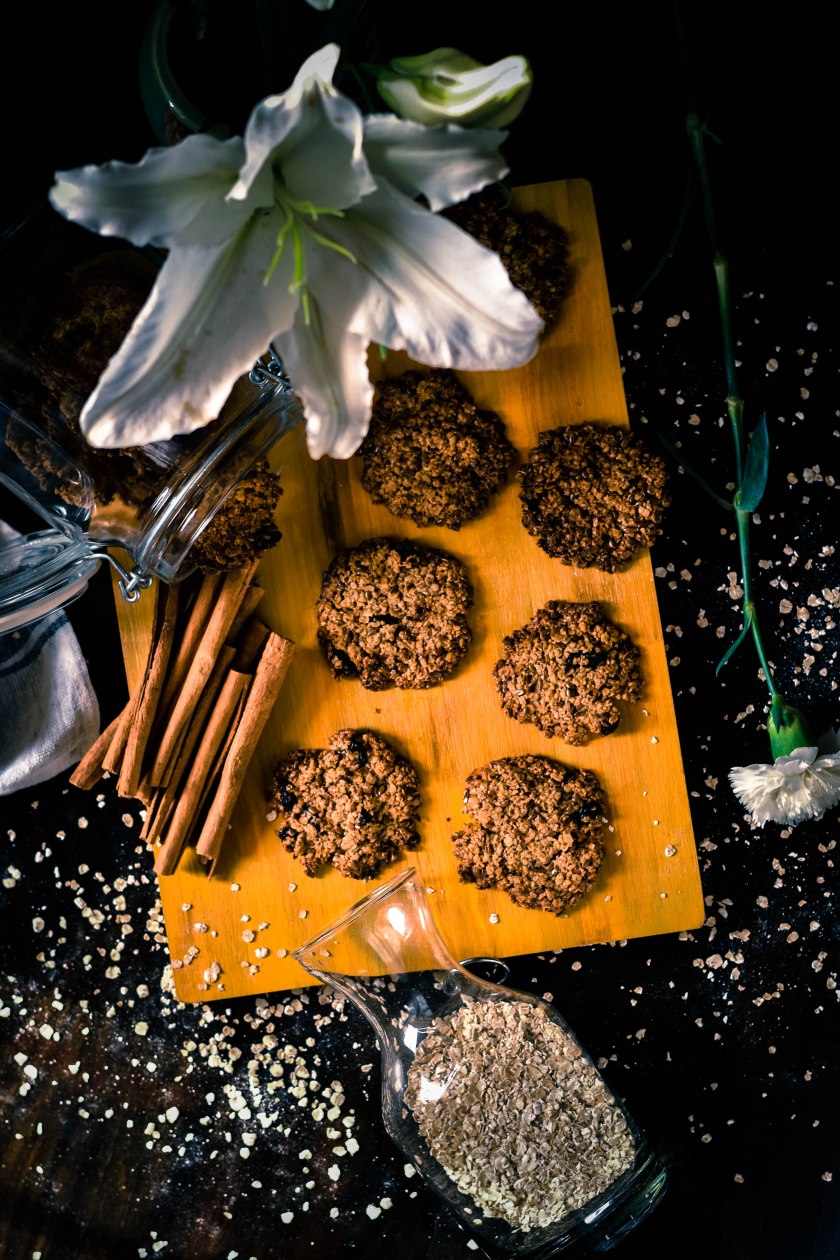
Healthy Flax Seed and Oat, Raisin Thins


DSC_0089

DSC_0094

DSC_0108

Hello my Dear Wonderful Readers!!

How have you all been? Its been a long time since I got down to blogging and trust me when I say, the last week has been such a life changer! Have you ever looked down from a flight that is just about to land? That moment when you see tiny cars and thin trees and wormy roads? That’s the moment you realize how small you really are! We have been travelling a lot for the last few days and I have come to the firm belief that, no matter how hard you try, some things cannot be controlled. Its sad when people who drink and smoke their whole lives, live happy without a care are fit as a fiddle while people who are so cautious about their physical and mental health might have the worst medical condition. I guess what I am trying to say is that, what really matters, is that you live each minute of each day to its fullest and you do your part. There is no point living a vegetarian life when our mind is full of vengeful thoughts. There is no need for an argument with your spouse when life itself is full of challenges thrown at you every day. Every time I have fought or scolded some one its makes me feel like all I did was bring negativity into the room and nothing stands a chance to improve.

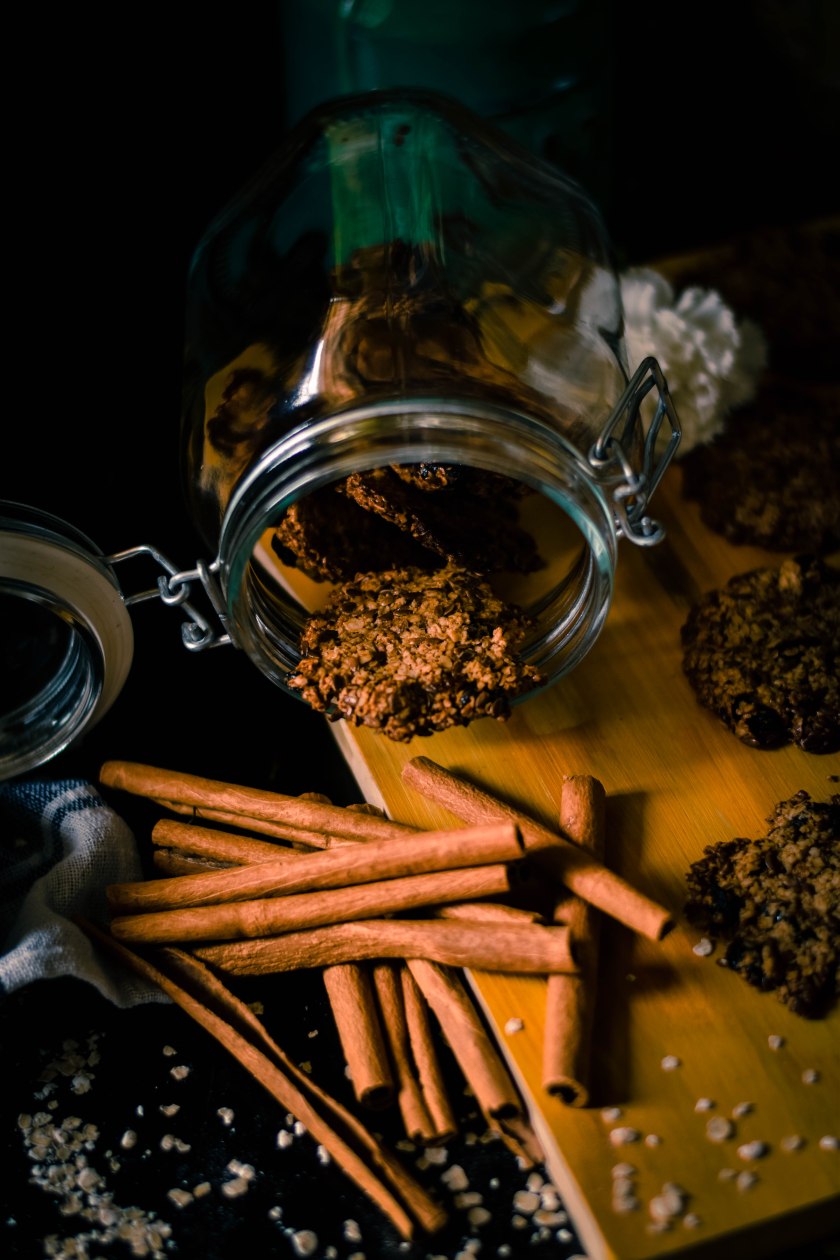
While such tumultuous thoughts run through my head, my cup of hot green tea was beckoning for a little some thing to go along with it. Much to my dismay, reaching for the cookie jar had only resulted in a depressing after thought of how many calories I have to burn the next day or why my greedy tongue has not been able to make its peace with 3 cookies undoubtedly made with much more sugar than flour or butter 😛 . So here was my answer!

A simple #NO GLUTEN! NO FLOUR, REFINED SUGAR FREE COOKIE- ( OH! did i mention no butter too)

These are so really simple to make all you need is a fork and two bowls. So lets get to it ….


Ingredients :-

  1. Instant Oats – 2 cups
  2. Raisins – 1/2 cup
  3. Flax Seed – 3 tbsp
  4. Virgin Coconut Oil – 1 cup
  5. Egg – 1
  6. Palm Sugar – 1 cup
  7. Cinnamon Powder – 1.2 tsp
  8. Vanilla Extract – 1.2 tsp

Instructions :-

  1. Pre-heat your oven to 150 C and line a baking tray with parchment paper
  2. In a bowl, mix oats, flax see, raisins, palm sugar, cinnamon powder and give it a good mix with a fork ( make sure you do not have any lumps of sugar)
  3. In another bowl, crack open the egg. Add the coconut oil and vanilla extract. Give it a good whisk with the fork
  4. Slowly pour the egg mixture over the oat mixture and set aside to soak for 10 mins
  5. Then using the same fork give it a good mix once again to coat the oats well with the egg mixture
  6. Now using a small ice cream spoon or a normal spoon scoop out even portions of the oats and egg mixture and place on the baking tray
  7. Then with the back of the fork press down to flatten
  8. I like these nice and thin, so they snap when I bite into them
  9. Bake in the pre heated oven for 10 – 15 mins (till they turn light brown )
  10. Once they are done leave to cool completely – remember they will be soft when they come out of the oven but leave to cool completely and they will crisp up soon!!
  11. Store in an air tight container once cooled

Chocolate Pavlova with Raspberry compote and cream

DSC_1003-3

DSC_0988

DSC_1023


DSC_1001

Hello Everybody!!

Happy World Chocolate Day! Now I was so tempted to make a nice chocolate brownie with lots of gooey frosting and stuff, but I decided I did not wanna play with flour.  Pavlova has always been my nemesis! Smaller version of the same are easier to make, but the tricky part is not till you get it in the oven, its when you have to pull it out of it. Make no mistake, if there were ever a fight between a tiramisu and pavlova, the tiramisu would win, but if I wanted to keep it light a pavlova is the way to go.   When I say “light” I mean “lighter” 😛

The perfect pavlova should be crunchy, gooey, chewy in the center, not too sweet and just right. The first time I made a summer pavlova, with kiwi, fresh cherries , passion fruit and lots of lemon curd. It was really good. But it was not really a looker and after repeated attempts I realized two things. Firstly – a Pavlova is not a cake! – so do not expect it to be nice and puffy like a cake. And Secondly, Time it! Time your baking time and after the baking time, leave it inside the oven to cool till it comes down to room temperature. Texture is everything when it comes to this dessert. What makes this dessert, much craved for is that wonderful crunchy exterior and then that gooey, chewy, marshmallow center. The cream over the Pavlova is just for additional creaminess and to balance out the sweetness of the pavlova itself. I strongly recommend that when ever you make a Pavlova, use a strong pungent flavor to top it off.  That just makes this dessert a ride on a roller coaster. You could use fresh raspberries too, but I took the liberty to make a concentrate with the raspberries, added a little honey and made it a little more dramatic. But like I said, using fresh raspberries would do well too. Needless to say, the last time I made it, it was over within a day. So if you are the one cutting into the pavlova, make sure to save some for your self too!


Ingredients for the pavlova base:-

  1. Egg Whites – 6
  2. Sugar – 300 gms
  3. Coco Powder – 3 tbsp
  4. Balsamic Vinegar – 1 tsp
  5. Chopped Dark Chocolate – 2 tbsp


Instructions :-

  1. Pre Heat you over to 180 and line two baking tray with parchment paper. Draw two discs the size of a quarter plate on the lower side of the paper
  2. In the bowl of your stand mixer, fitted with the whisk attachment, pour in the egg whites and whisk on medium speed
  3. Once the whites are double in size and are nice and glossy, add one spoon of sugar at a time
  4. Now increase the speed and whip on high speed till nice firm peaks are formed
  5. Take off the bowl from the mixer and gently fold in the coco powder, balsamic vinegar and dark chocolate
  6. Make sure to only fold in the ingredients or you will knock out the air from the whites  ( which you really do not want)
  7. Now divide the batter equally and pour over the two circle you drew earlier on the parchment paper
  8. Using a spatula or a butter knife, level off the top
  9. Pop the baking tray into the oven and reduce the temperature to 150
  10. Bake for 1 hour and 15 mins
  11. Once you hear the ding of the oven, DO NOT OPEN IT AJAR! slowly pop a wooden ladle between the door of the oven and let it sit till the pavlova had completely  cooled and reached room temperature
  12. Mean while get on with the raspberry goo 🙂


Ingredients :-

  1. Frozen Raspberries – 100 gms
  2. Honey – 3 tbsp
  3. Whipping Cream – 300 ml

Instructions :-

  1. In a sauce pan, combine the raspberry and honey
  2. Cook on medium flame till the mixture begins to boil ( stir occasionally)
  3. The let the mixture reduce to half on the same flame
  4. Once it has reduced by half, take it off the flame and let it cool down
  5. Whip the double cream to stiff peaks and set aside


  • When you are ready to assemble the Pavlova, first use one pavlova as the base, add cream and spread evenly
  • Then add half the raspberry goo and sprinkle some chocolate chips
  • Then place the next pavlova over the first layer and repeat the same step
  • Your Chocolate Pavlova is ready!

Recipe Adapted from Nigella Lawsons book


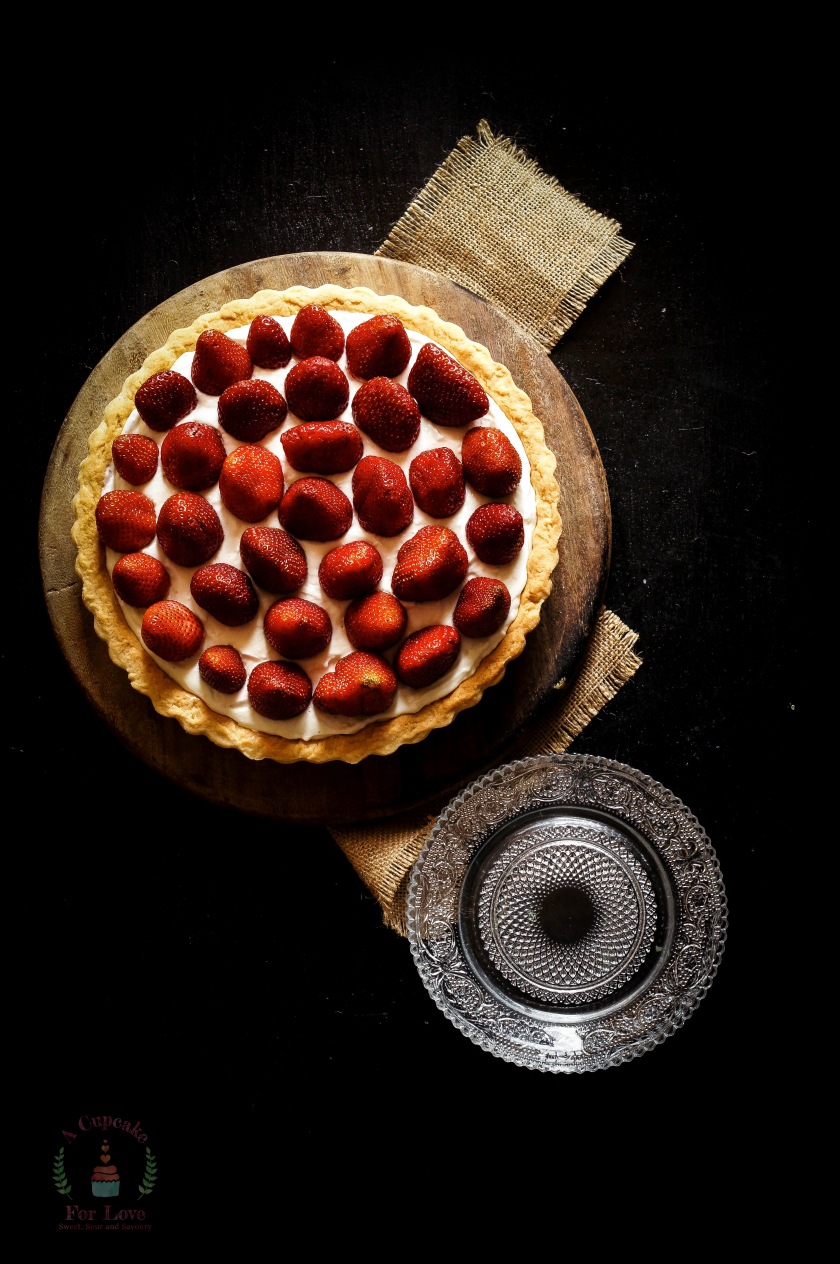
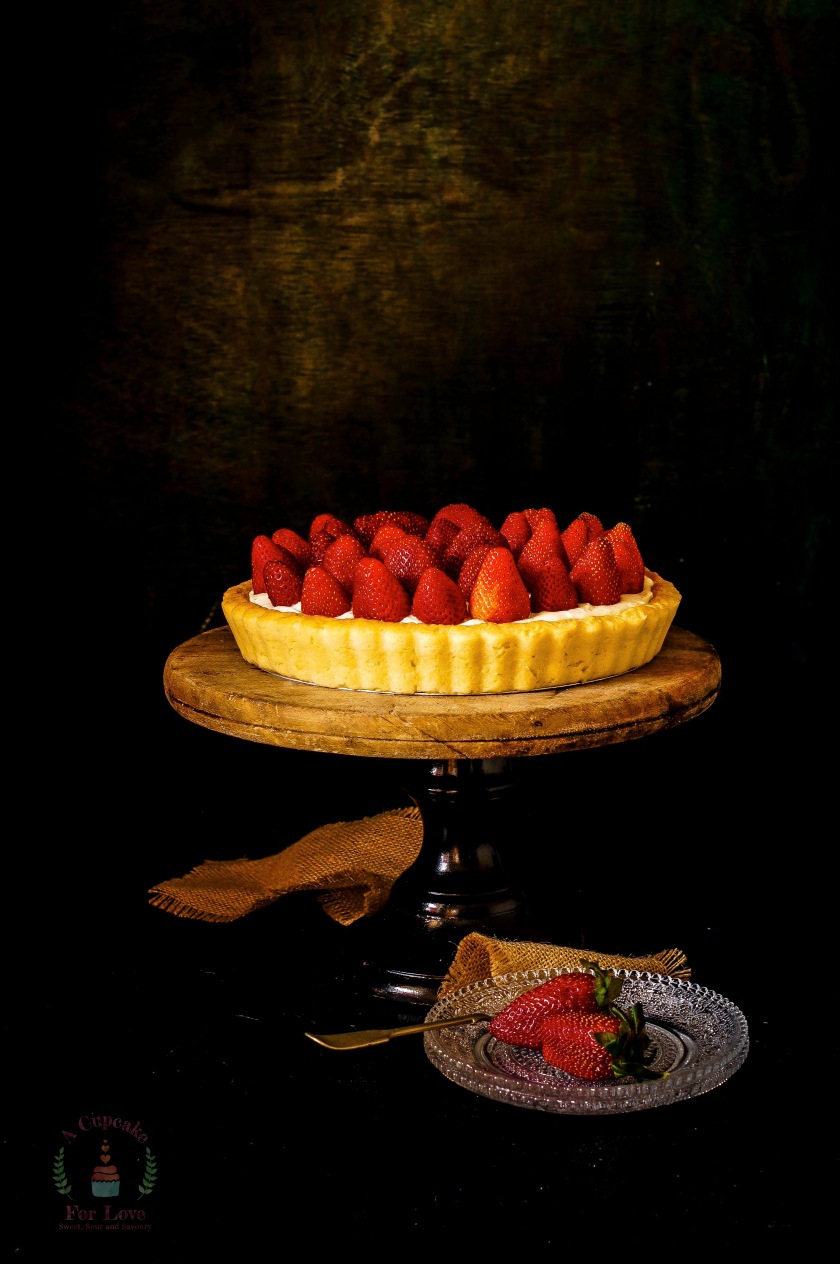
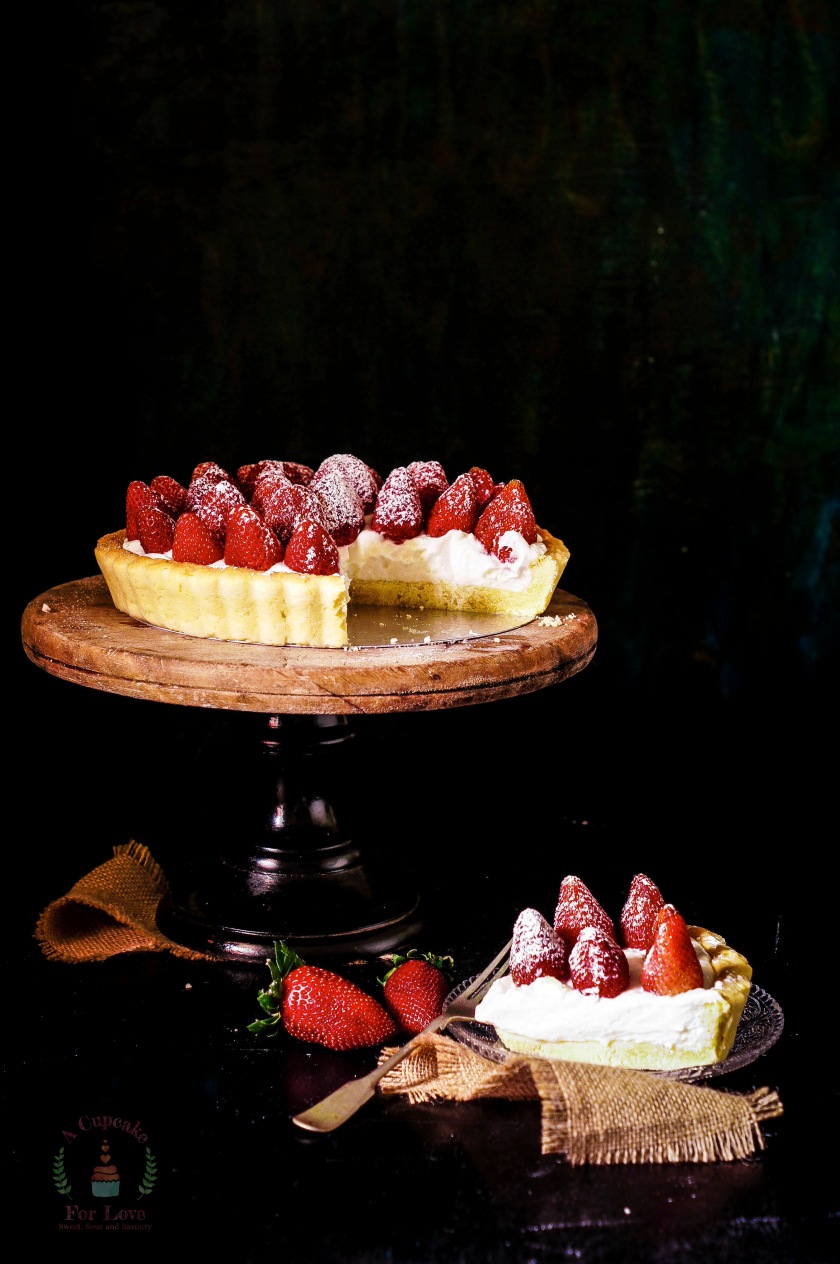
Strawberry and Cream Cheese Tart

SONY DSC

SONY DSC

SONY DSC


SONY DSC

SONY DS

SONY DSC

SONY DSC

SONY DSC

SONY DSC

Hello my Dear Wonderful Readers!

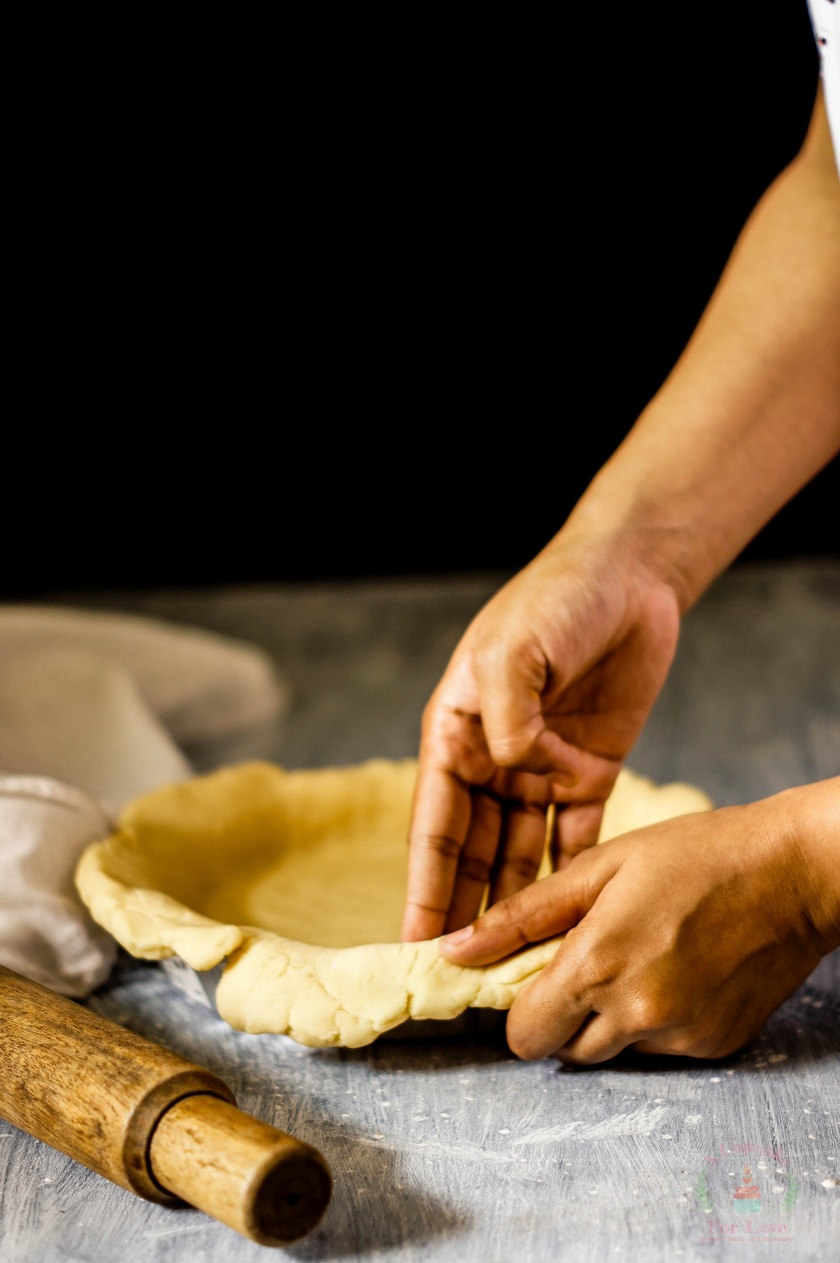
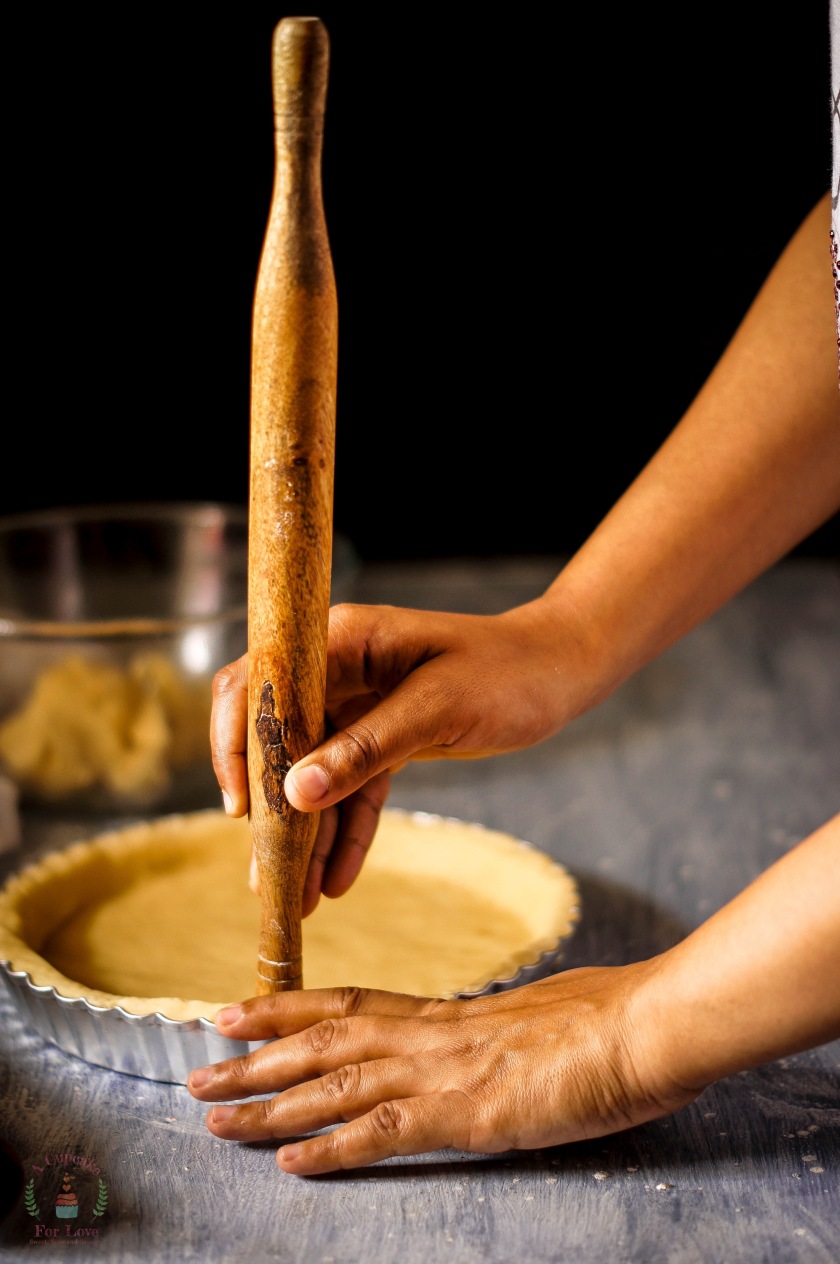
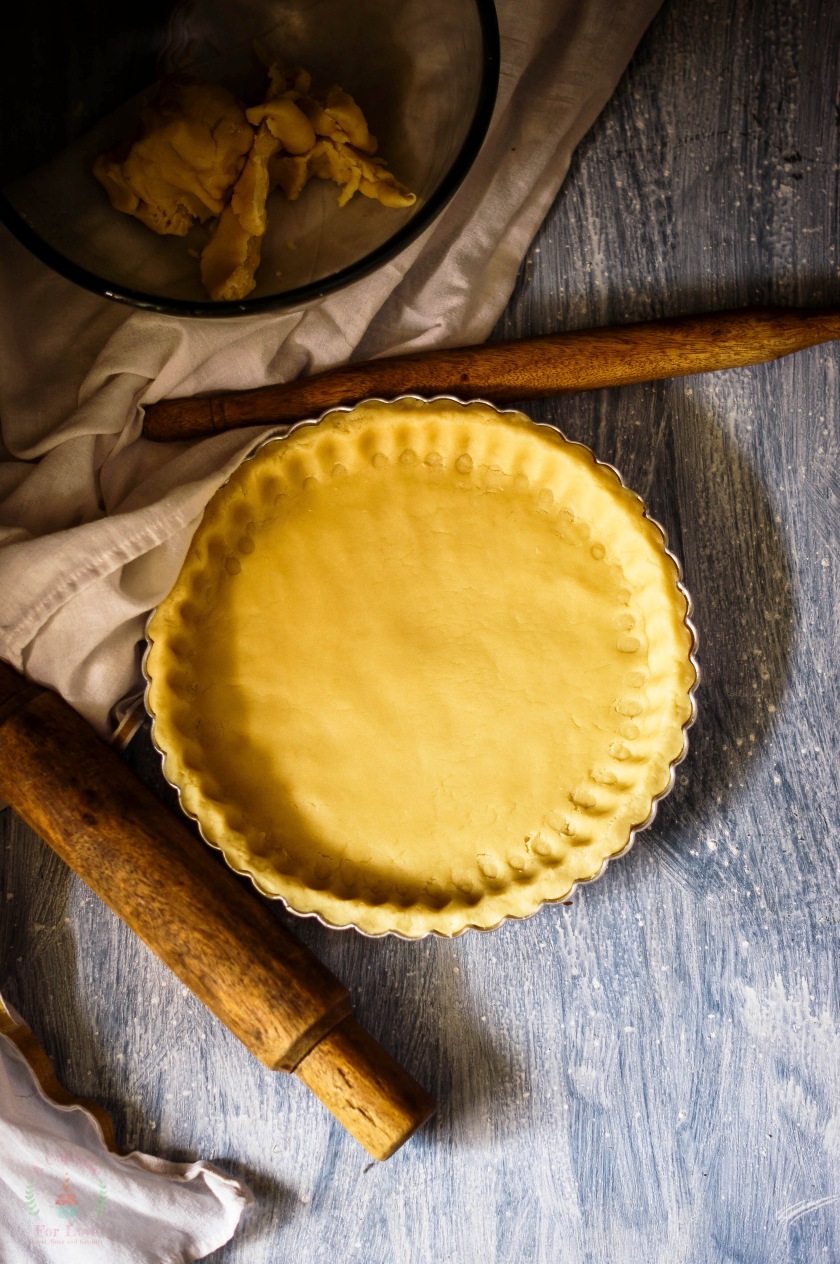
How are you all doing today? Summer is here. Its just March and it is so hot and sticky that by afternoons I have to make tons of buttermilk and juice to keep my son hydrated. Given that little babies are always running around, they are constantly sweating and losing so much water from their bodies. While making the juice, it suddenly dawned on me that strawberries will be out of the market very soon. so before they go away for another year, I wanted to make the best of it with a little strawberry cream cheese tart. But I wanted my own little twist to it, so I added green cardamom powder to the filling. Oh! I would be lying if I said I dint have more than a piece of the tart. IT WAS HEAVENLY!! Its really simple to make and it doesn’t need a lot of prep work. You could buy pre baked short crust tart shells but there’s no fun in that. So I made my own from scratch.

I used the same recipe as I had for my White Chocolate Persimmon Tartlets. Do click on the link for that.

Now for the filling which is as easy as it gets!

Ingredients :-

  1. Cream cheese – 200 gms
  2. Heavy Cream – 200 ml
  3. Sugar – 4 – 5 tbsp
  4. Vanilla Extract – 1 tbsp
  5. Green Cardamom Powder – 2 pinches


Instructions :-

  1. Remember to cool the cream before you start using it. For best results use the cream directly from the fridge
  2. Next in the bowl of your stand mixer, add the cold cream and whisk on medium
  3. When you see the consistency go from liquid to soft peaks, add the cold cream cheese
  4. Whisk again on medium for a minute
  5. Then add the vanilla extract and green cardamom powder
  6. Turn the speed a little higher and add the sugar one table spoon at a time
  7. Once you are done with all the ingredients set to cool back in the fridge till your tart shells are ready

For the strawberries:- 

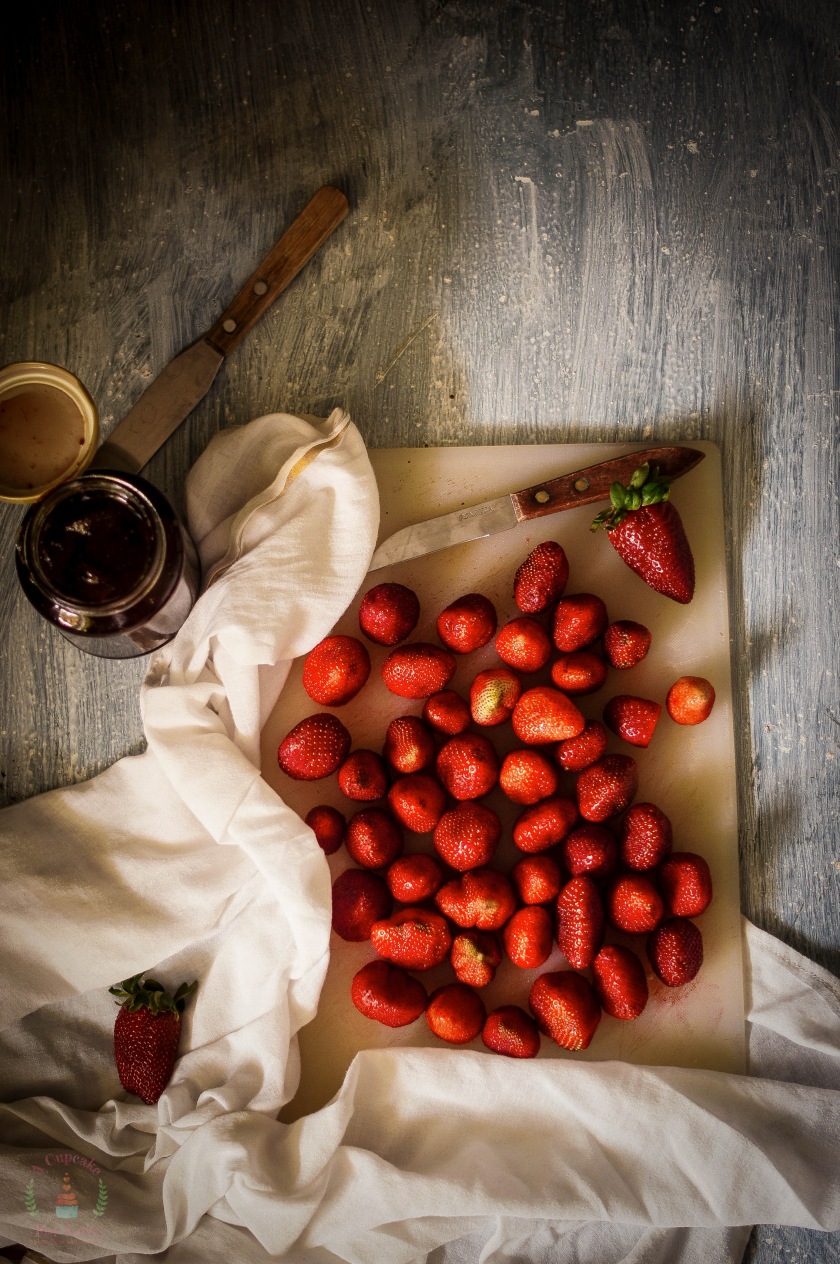
I needed around 3 packs for strawberries but that depends on how you arrange the strawberries in the tart.

  1. Clean and wash the strawberries. Dry them completely
  2. Using a sharp knife, cut the tops off the strawberries in such a way that they would stand if kept inverted


Assembling the tart

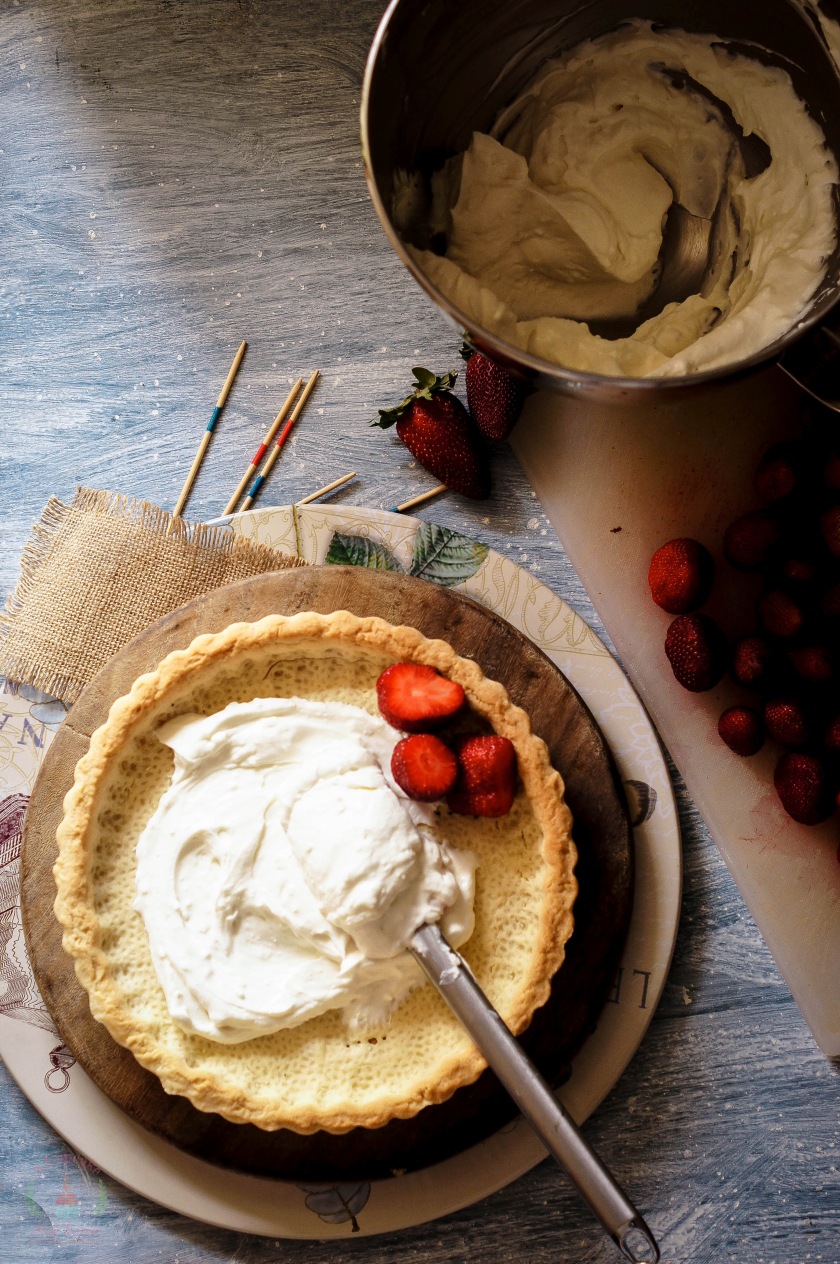
  1. After the tart shells have cooled down completely, add the whipped cream and cream cheese mixture to the tart shell
  2. Evenly spread it throughout the shell
  3. If you find that the mixture is too thin, put the tart back in the fridge for 15 mins
  4. Then take it out and arrange the strawberries over it
  5. Finally dust with the powdered sugar
  6. Serve right away!!

Enjoy!!!


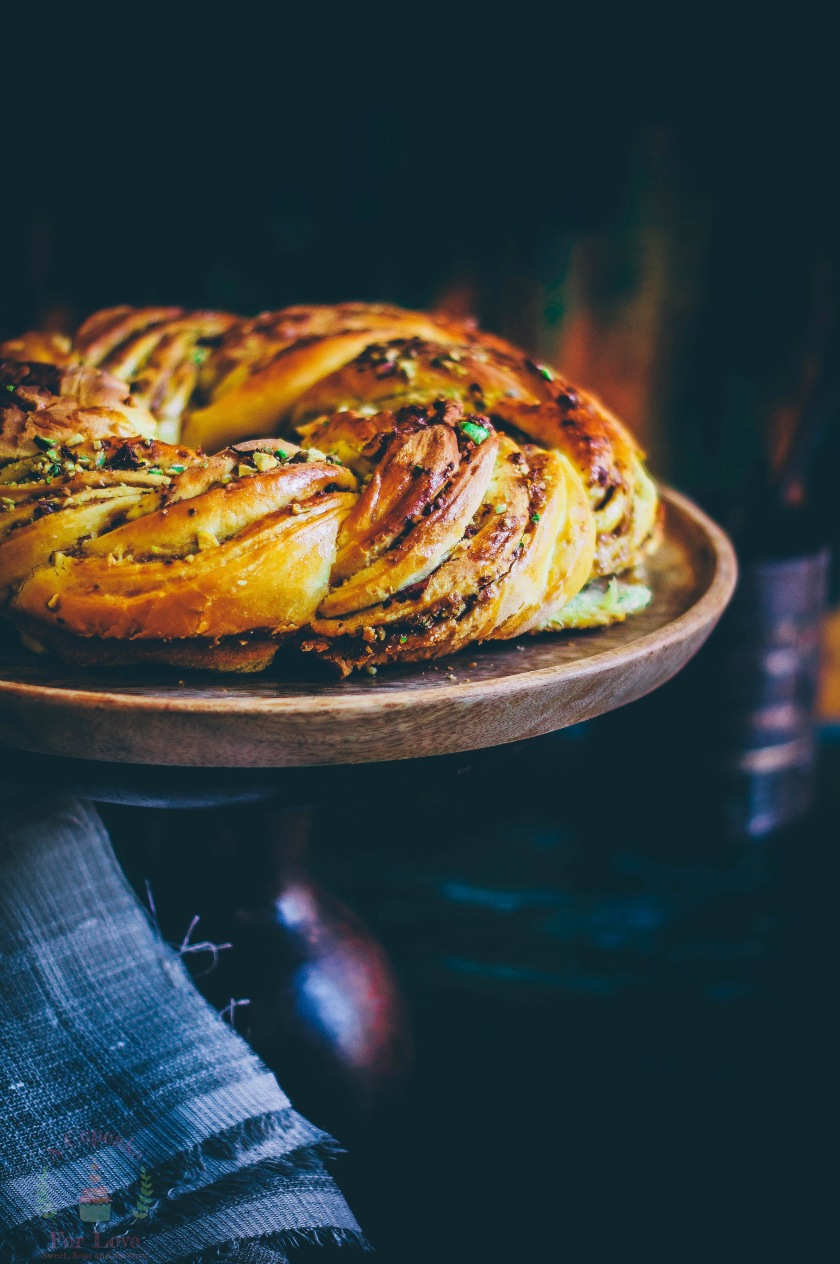
Saffron, Rose and Pistachio Bread – My Indian Holiday Wreath Bread


SONY DSC


SONY DSC


SONY DSC


SONY DSC


SONY DSC


SONY DSC

Hello my Dear Wonderful Readers!

2015 has come to an end and 2016 has begun. I wish you and your families a wonderful and happy new year.

Looking back, 2015 was a blur of events and I can not believe how quickly the year has changed our lives. From becoming a mother to moving back home to seeing my son crawling and learning to walk. It seems like everything happened really fast. So many changes, so many ups and downs, so many lessons learned and so many new ventures. Starting the blog was one of the main highlights of 2015 and I can not express how happy I am to have started this wonderful journey. Thank you for all your support, encouragement and mostly for inspiring me!  I hope you would continue to do the same this new year as well.

This is going to be the first post of the year 2016 and I wanted to incorporate the bygone holiday theme one more time with an Indian edge. So here is my Saffron, Rose and Pistachio Wreath bread. This bread is inspired by my favourite flavours Rose, Pistachio and Saffron. Saffron give the bread its depth, the Rose jam sandwiched between the  layer gives the bread a wonderful sweetness with an intense Rose flavour and the Pistachios give it a nice crunch!

Once again here’s to wishing you a wonderful and full filled 2016! Eat lots, have fun and be healthy 🙂

SONY DSC


SONY DSC
SONY DSC

Chocolate Dipped Chocolate and Almond Biscotti


Seasons Greetings My Dear Wonderful Readers!!

We have been very busy baking this week but this time its for gifting and sharing. So I made a bunch of these biscotti for our Christmas party last week. Have you guys played secret santa? Well it was really fun when we played it in my office. Seven days of gifting and not knowing who or when and how they know what you like and yet the gifts that come are really cute! These biscotti’s were made for a dear friend as his secret santa gift from me 🙂 It was so much fun and for some  strange reason he thought my husband baked them.. haha . Anyway it was fun.. I am leaving you with the recipe and I hope you have fun making them!!

Ingredients :-

  1. Flour – 2 cups
  2. Coco Powder – 1/2 cup
  3. Sugar – 1 cup
  4. Baking Soda  –  1 tsp
  5. Almonds – 200 gms
  6. Salt – 1/4 tsp
  7. Vanilla Extract –  1 tbsp
  8. Eggs – 3
  9. Chocolate – 200 gms
  10. Sprinkles – as much as your like 🙂

Instructions :-

  1. Preheat your oven to 180 and line your baking tray with baking paper
  2. In the bowl of your stand mixer with the paddle attachment beat eggs and butter
  3. Then add sugar and vanilla extract
  4. While the eggs butter mixture are whipping, mix flour. coco powder, baking soda and salt
  5. Now add the dry ingredients into the bowl in three batches
  6. The dough will be very sticky. But it will come together to form a sticky ball
  7. Flour your counter and empty the dough onto the floured counter
  8. Kneed the dough for 4 – 5 mins and add more flour if required so that the dough does not stick to the counter
  9. Finally roll into a long log and cut into the legal halves
  10. Then roll each log to look like baguettes
  11. Pop the rolled out logs into the oven and bake for 20 mins. The crust should be hard and almost like a biscuit
  12. Then take the logs out of the oven and let them cool for 10 mins
  13. Using a seated knife, cut the logs into long thin strips. I cut mine at an angle but you can do it anyway you like
  14. Then arrange the strips back onto the tray and bake for another 10 – 15 mins depending on how brown or dark you like the biscuit
  15. Once they are done set them on a cooling rack and bring to room temperature
  16. Meanwhile melt your chocolate in the microwave at 30 sec intervals. Stir every 30 seconds to make sure you do not burn them
  17.  Finally dip the cooled biscotti into the melted chocolate and sprinkle any kind of sprinkles you like
  18. Enjoy!

Kerala Style Plum Cake – Christmas Cake!

Hello My Dear Wonderful readers!

As I made this wonderful cake, I cannot believe how fast this year went by. It’s close to a year since I started the blog, my son is almost a year an a half old and everyday there is so much happening! Some times I cannot believe that so much happened in a year and on the other hand I cannot wait for the new year to begin. My little peach takes all my time and for some strange reason I am ok with that. Maybe thats what motherhood feels like! Even as I am typing this post out, my son is sitting on my lap and every now and then I have to hit the delete button cause there are random taps on the keyboard. But all I can see is a little boy, who can look at me and melt my heart just by a little smile. That being said, being a mother also has its hard days. Like when he gets up on the wrong side of the bed and he throws a tantrum and turns the whole house upside down. Yes, I am sure you know what I am talking about if you are a mum too.

Now while I was making this cake I was reminded of my childhood days in a small temple town in Kerala. My grandfather was an advocate and a man of great importance. No not just for his skills at advocacy but for his knowledge in  science, maths and astrology. You know how in those days everybody knew everybody in villages and towns? Just like that everybody knew him and everybody loved the food my grandmother makes. So people would flock to my ancestral home for lunches and late dinners. But during this time of the year, my house would sing another tune. This was the time when every morning we would wake up to a delivery boy standing with a cake box in his hand and a note that wished all of us a “Merry Christmas and A Happy New Year”. The boxes would be left on the bigger dining table in the main room and we would wait for my granny to open it! Oh the excitement to see Kerala Plum Cake, dressed in hard royal icing, with leaves of a florescent green and roses of electric pink and dark red! And a little thin cardboard piece that spelled “Merry X’mas”. That was the best! My granny would bring a nice thin knife from the kitchen and we all would fight for the biggest piece and we would save the “roses and leaves” for the end. Finally we would be happy with cake in in our bellies, red colour tongues and little hard icing all over our face. Yes, Christmas was only about the food.

I almost forgot. The little delivery boy would also have two amber bottles in his hand. Wrapped in the local news paper and then tied with a string, these bottles housed the greatest wines I have ever tasted!  No they were not just grape wine. They ranged from passion fruit, to holy basil wine! Yes, Christmas was that time of the year when cake and wine was an every day affair in Kerala.

PS – we never ever got to taste the wine apart from the sweet grape “wine” which was served in plastic glasses to the children so they don’t break the glass 🙂

This recipe was one shared by a close friend of mine and they make them in Kilograms! They make them in trays and bake for almost an army! and believe me nothing ever goes to waste!

Soaking Dry Fruits and Nuts :-

  1. Raisins – 50 gms
  2. Pistachio – 50 gms (de shelled and plain)
  3. Sultanas – 50 gms
  4. Cashew Nuts -50 gms
  5. Walnuts – 50 gms
  6. Apricots – 7 -8
  7. Candied Ginger -4 – 5 (long)
  8. Candied Oranger Peel – 5 peels
  9. Dates – 100 gms
  10. Almonds – 50 gms
  11. Prunes – 4
  12. Candied Cherries – 12
  13. Rum –  180 ml

Instructions :-

  1. Open a zip lock bag and add all nuts. Close the bag making sure to push out all the air within the bag
  2. Now after closing the bag, using a rolling pin, roughly smash the nuts to bring to coarse mixture. Drop the nuts into a  clean glass bottle
  3. Now place the rest of the fruits on a chopping board ( except the rum :p) and roughly chop to small bits
  4. Add the chopped fruit into the bottle with the nuts
  5. Now add the rum over the fruits and close the lid tightly
  6. Give the bottle a nice shake and set aside to soak away!
  7. Let the bottle at least 2 days to rest by the end of day two you will see that all the rum has been absorbed by the fruits and nuts!

Now when you are ready to bake this beauty, the first thing you need to make is the golden syrup. This is what gives the cake its colour and that dark intense flavour. This part is a little tricky cause you want the liquid to resemble honey. Also at all times use a long spoon/ ladle and watch out cause you are playing with hot hot sugar!

Ingredients:-

  1. Sugar – 1 cup
  2. Water – 1/2 cup ( make sure you have a table spoon in hand)

Instructions :-

  1. In a sauce pan, over low flame add the sugar and let the sugar begin to melt. Do not stir till you see the sugar begin to caramelise from the sides
  2. Slowly when you see it begin to bubble just slowly use a ladle and give it one stir and add one table spoon of water
  3. The sugar will slowly turn from white, to yellow to brown to a dark brown, that is when you will see the sugar begin to bubble, take the pan off the heat and slowly add rest of the water one spoon at a time and stir well
  4. Finally you will have a nice thick, dark brown syrup! That is the heart of this recipe

Baking the Cake

Ingredients :-

  1. Maida/ Cake Flour – 250 gms
  2. Powdered Sugar – 1 + 1/2 cup
  3. Baking Powder – 1 + 1/4 tsp
  4. Baking Soda – 1/2
  5. Butter – 250 gms
  6. Salt – 1/4 tsp
  7. Soaked Fruits
  8. Prepared Golden Syrup
  9. Eggs – 4
  10. Vanilla Extract – 2 tsp
  11. Cloves – 5  –
  12. Cardamom – 5
  13. Cinnamon Powder – 1/2 tsp
  14. Nutmeg – half a nutmeg
  15. Dry Ginger Powder – 1 tsp

Instructions :-

  1. Pre heat your oven to 180C and line a 9 inch pan with baking paper. Make sure to line the sides of the pan with paper a few cms above the height of the pan
  2. Drain out any excess rum from the soaked fruits and receive for later use
  3. In a bowl, combine flour , baking powder, baking soda and salt. Sieve the mixture twice to make sure the ingredients have combined well. Take a table spoon for the dry mixture and mix into the drained nuts. This stops the nuts from sinking to the bottom of the pan while baking
  4. Powder all the whole spices with the powders and set aside
  5. Separate the egg whites and set aside. Beat the egg whites to form soft peaks
  6. In the bowl of your stand mixer combine sugar and butter and mix together for a nice paste
  7. Then add the egg yolk, vanilla extract and spices
  8. Then add your golden syrup that was made earlier
  9. Now divide your flour mixture into 3 parts and slowly combine with the spices egg butter mixture within the bowl
  10. After the flour, add the egg whites also into 3 parts
  11. Finally add the soaked fruits and nuts. If you have any liquid left from the soaked mixture then add only 3 – 4 tbsps of the liquid to the batter
  12. Pour the batter into the greased and lined cake pan
  13. Bake for 50 – 55 mins or until a tooth pick inserted comes out clean
  14. Once done take the cake pan out of the oven and set to cool for 10 mins, then run a knife alone the side of the cake pan to release the cake
  15. Invert the cake over a cooling rack and allow to cool to room temperature
  16. Make sure to cut only after it has cooled completely!
  17. Enjoy

Ginger Bread White Chocolate Cheesecake

SONY DSC

Hello my Dear Wonderful Readers!

Some times I wish there were more hours in a day! I cannot believe how fast this week has gone by. In the back of my mind I think I have done so much but when I look around I figure there is so much more to do. Like this post which has been pending for over a week now. Time is a luxury for a mother of a 1 year old and as a person who loves to cook and bake, some times it feels like nothing is getting done.

3 days were spent trying to develop a biscotti recipe and after 3 failed attempts I nailed it. I will post that recipe soon. Needless to say “soon” could mean tomorrow or two weeks from now. For now this is the recipe for my Ginger Bread Cheese Cake. Have fun!

Ingredients  :-

  1. Ginger Bread Cookies – 12 – 13
  2. Butter – 100 gms
  3. Cream Cheese – 400 gms
  4. Eggs – 3
  5. Vanilla Extract – 2 tbsp
  6. White Chocolate – 250 gms
  7. Icing Sugar – 1/2 cup + 1 tbsp
  8. Diary Cream – 3 tbsp


Instructions :-

  1. Melt butter in a microwave and then cook to room temperature
  2. Powder the Ginger bread cookies in a blender to fine
  3. Now mix the butter with the powdered cookies
  4. Grease your spring foam pan with butter and then tip in the butter + cookie mixture
  5. Press down firmly into the pan evenly to create a nice even layer. Set the pan aside
  6. Pre- heat your oven to 160 C
  7. Heat water in a pan. Then in another bowl add the white chocolate and set over the boiling water
  8. Make sure the bowl does not touch the water in the pan below
  9. Slowly melt the white chocolate. Once the chocolate has melted, set aside to cool completely
  10. In the bowl of your stand mixture, with the paddle attachment, mix the sugar and cream cheese to form a nice smooth paste
  11. Then add the vanilla extract. Once the extract has combined start adding the eggs once at a time
  12. Finally add the white chocolate (at room temp) followed by the cream
  13. Stop the mixer and crap down the sides of the bowl and give it one nice mix again
  14. Slowly pour your white chocolate cream mixture into the prepare tin over the ginger bread layer
  15. Pop it into the oven and bake for 50 – 55 mins
  16. Now the only way you will know if the cheesecake is done is when the time is up, shake the pan a little bit the centre might be a little wobbly but the sides should stand firm
  17. Now leave the pan inside the oven ( the oven turned off) and let it rest in the oven for 4 – 5 hours
  18. You wil see that the little rise in the cheese cake, falls down. Too much rise and fall indicates that is has over cooked
  19. After letting the cake rest, serve with a warm drizzle for caramel over the cheese cake and some ginger bread cookies:)

Rosemary & Strawberry Madeleines with White Chocolate

SONY DSC

SONY DSC


Hello Dear Wonderful Readers!

How are you all doing today? Is the Christmas season turning out to be wonderful for you as well? It’s been a month of many changes for us, starting with potty training my son (Phew!!) and introducing cows milk into his diet and making him learning to say ” Boww boww” when you see a doggy. My son has also started learning to eat on his own and when I mean eat I mean spill half of what’s on his plate and the other half may find it’s way to his mouth but first it has to be on a place on the table/floor (other than his plate) and then into his mouth! (Lol!!).  Its a long process but at the end I am so proud of him for every piece of fruit that he eats on his own. We have officially said “No” to keeping a nanny too, that means lesser number of posts (but more time with my son).

So I wanted to start my Christmas inspired baking with simple, sweet, light and airy madeleines and they are unbelievably yum! This one has rosemary infused with the sweetness of strawberries giving it a wonderful twist and the sweet and spicy aroma of strawberries, rosemary and vanilla is just delightful! The basic madeleine is just the right kind of sweet with a cup of hot coffee right? This one infuses fruit and herb to give  a delicious twist to the French Madeleine. Personally I think they are miniature versions of cupcakes which look like cookies! What do you say? Not really sure why they are classified as cookies! Yes I know some cookies are soft and gooey as opposite to crunchy and chewy but Madeleines are light and airy, soft and spongy like cake! Yup I am going to say they are like butterfly kisses sent from a cupcake 🙂 Ok so here is how I made them!

Ingredients :-

  1. Butter – 120gms
  2. Rose Mary – 2 tbsp (chopped)
  3. Strawberry – 1 +1/2 cup
  4. Flour- 250 gms
  5. Sugar -150 gms
  6. Baking Powder – 1 tsp
  7. Eggs – 3 at room temp
  8. Red colour – 5 – 6 tbsp
  9. White Chocolate –  200 gms

Instructions :-

    1. In a clean sauce pan, add the butter and melt. Then add the chopped RoseMary to the butter and let the butter simmer for a few mins ( Make sure not burn the butter). After 2 – 3 mins turn off the flame and leave the butter mixture to rest for 15 to 20 mins
    2. Clean and de-stem fresh strawberries and chop them up into small pieces
    3. Then using a stick blender, blend them into a nice thick puree. Your puree should measure to one cup
    4. In the bowl of your stand mixer, add the eggs and sugar. Using the paddle attachment, blend on medium till the eggs are nice and foamy
    5. In another bowl add flour, baking powder and salt
    6. Once the egg mixture is foamy add the strawberry puree and mix for combine
    7. Then add the flour mixture to the wet mixture and mix only to combine ( do not over work the batter)
    8. Now using a strainer, pour the melted butter into the mixer bowl making sure not to drop any chopped rosemary into the batter
    9. Add as much food colour as required
    10. Now butter and dust your madeleine trays with butter and flour and scoop out the strawberry batter into the moulds
    11. Set the madeleine tray into the fridge for 20 mins
    12. During that time pre heat your oven to 180 c
    13. After 20 mins pop the tray into the oven and bake for 6- 8 mins
    14. You will know when the madeleines are done when they become slightly golden from the sides
    15. Once they are done, take them out of the oven and set to cool for 5 mins. Then take them out of the tray and place on a wire rack to cool
    16. While they cool, melt your white chocolate in the microwave at 20 sec intervals (strict in between)
    17. Once the madeleines have cooled completely, dip them into the white chocolate and place on the cooling rack to dry
    18. Serve along with a hot cup of coco/coffee, as you like 🙂